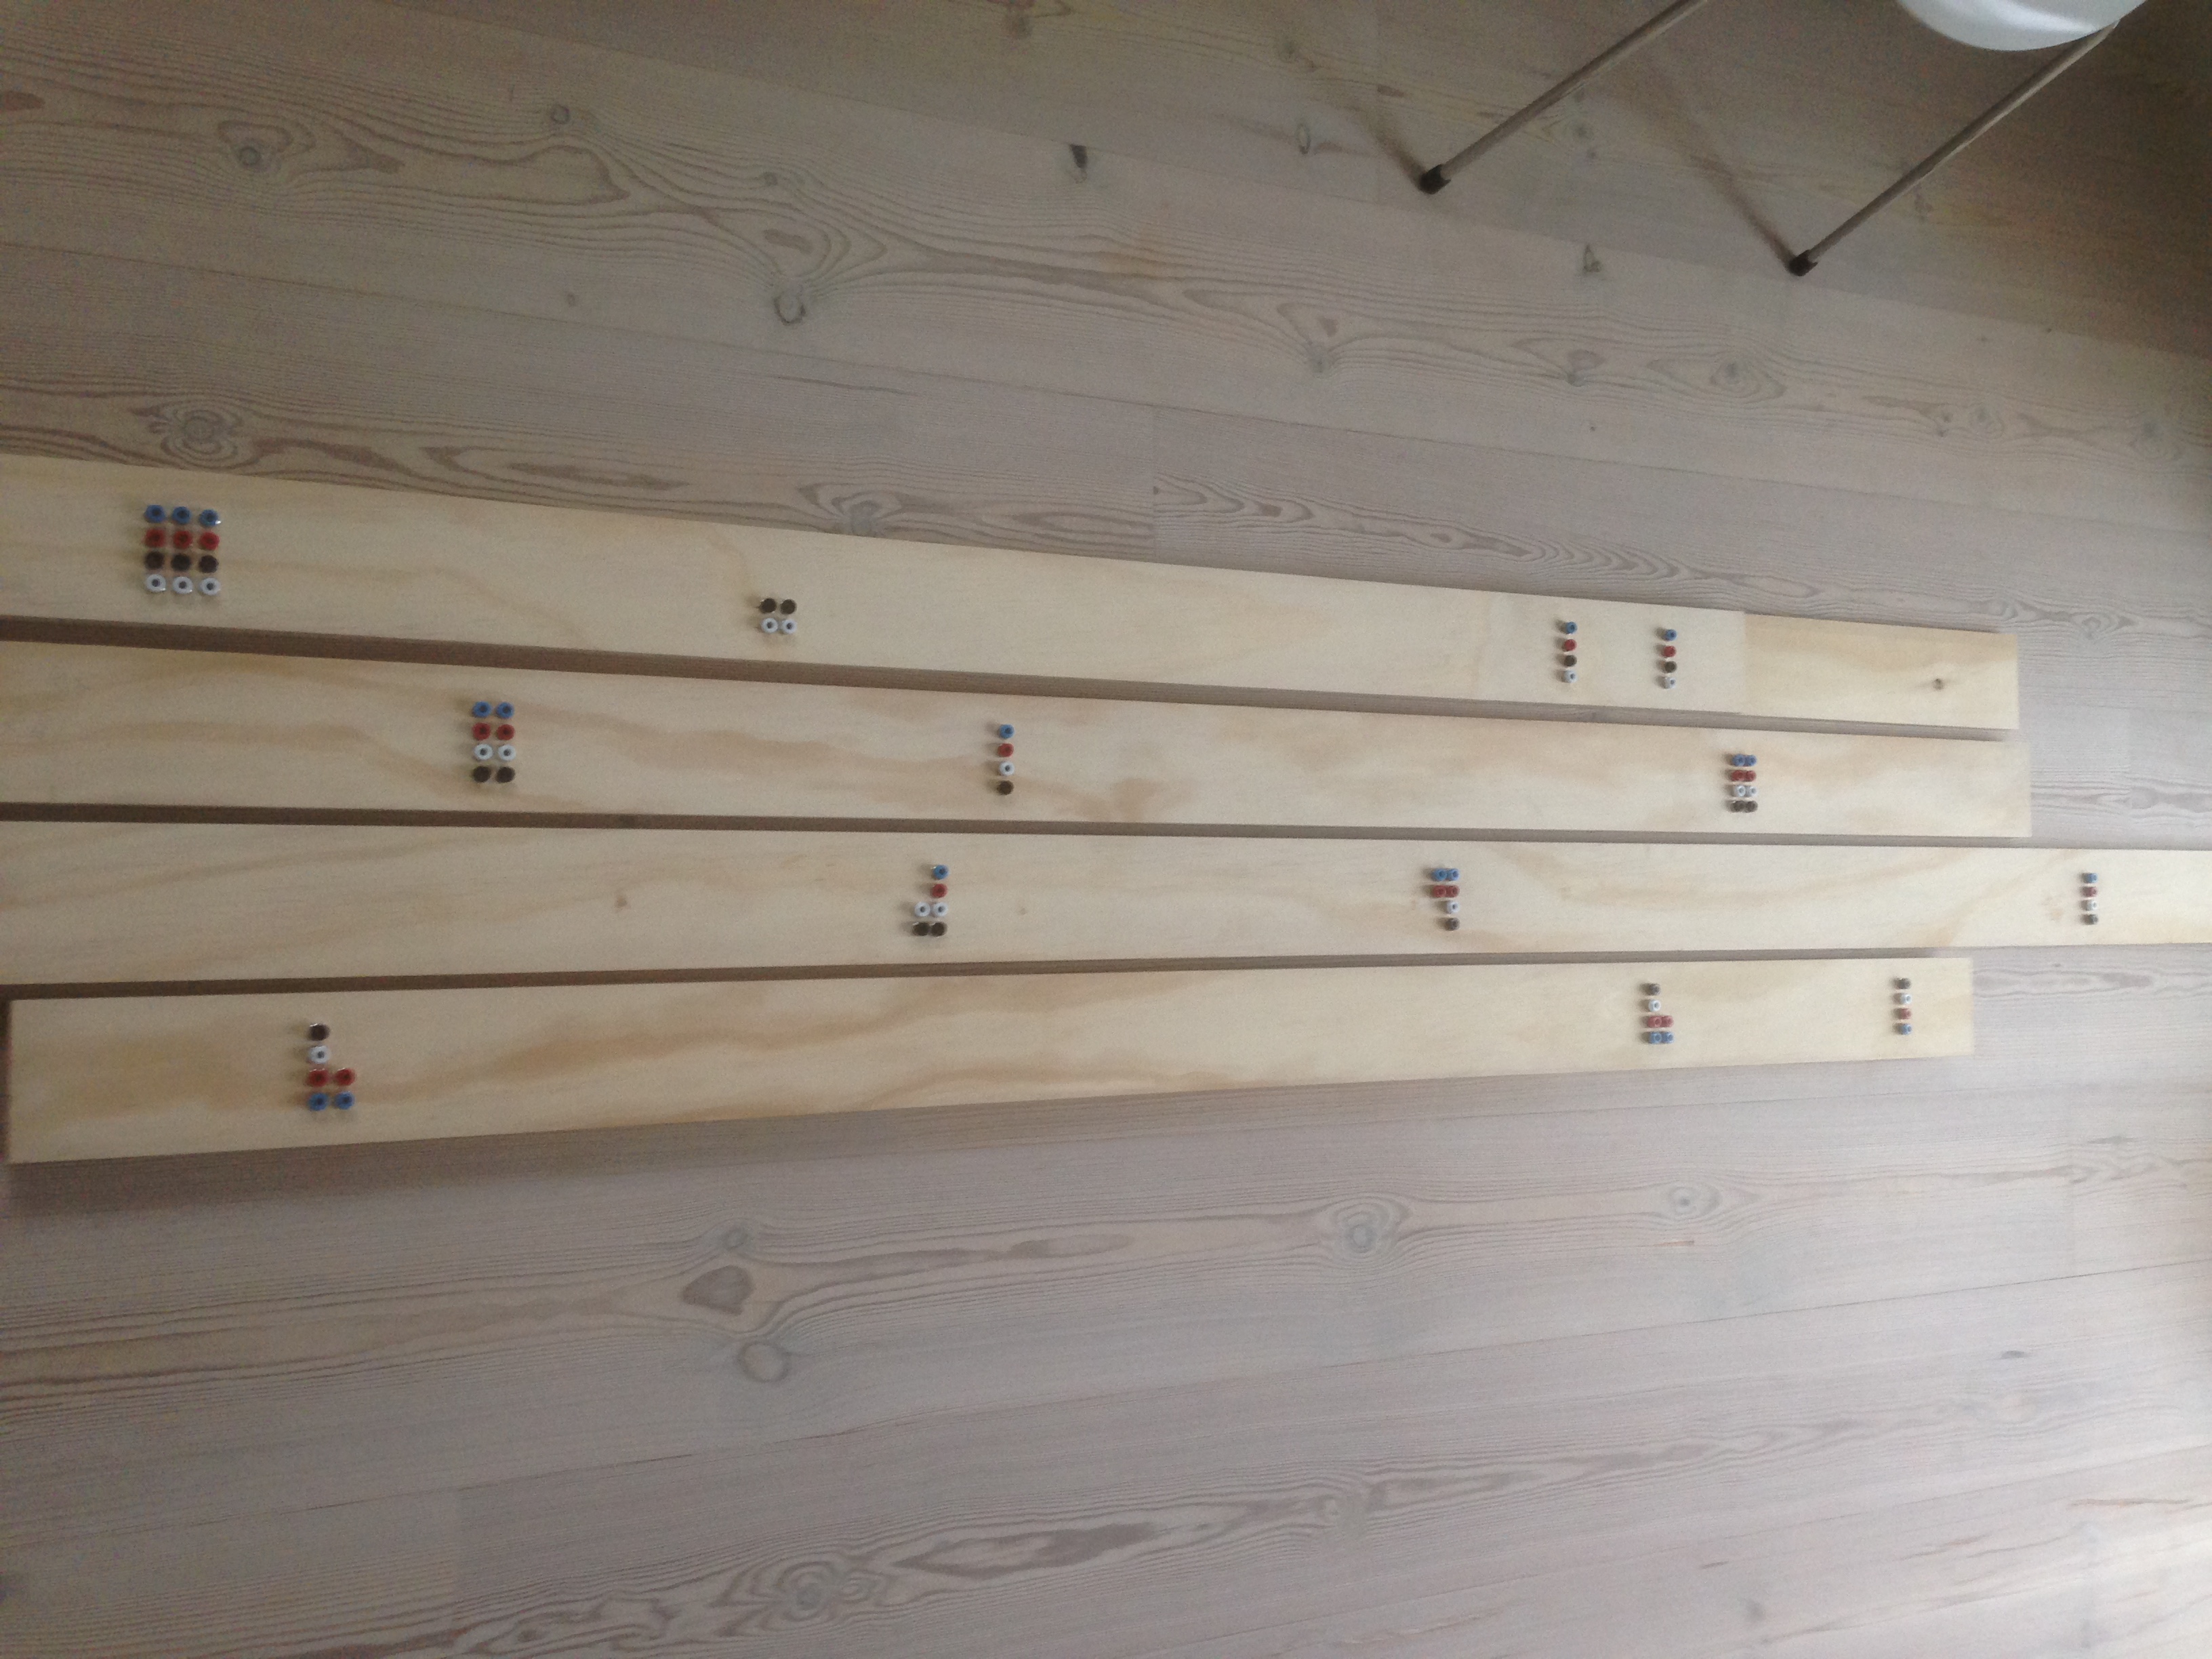
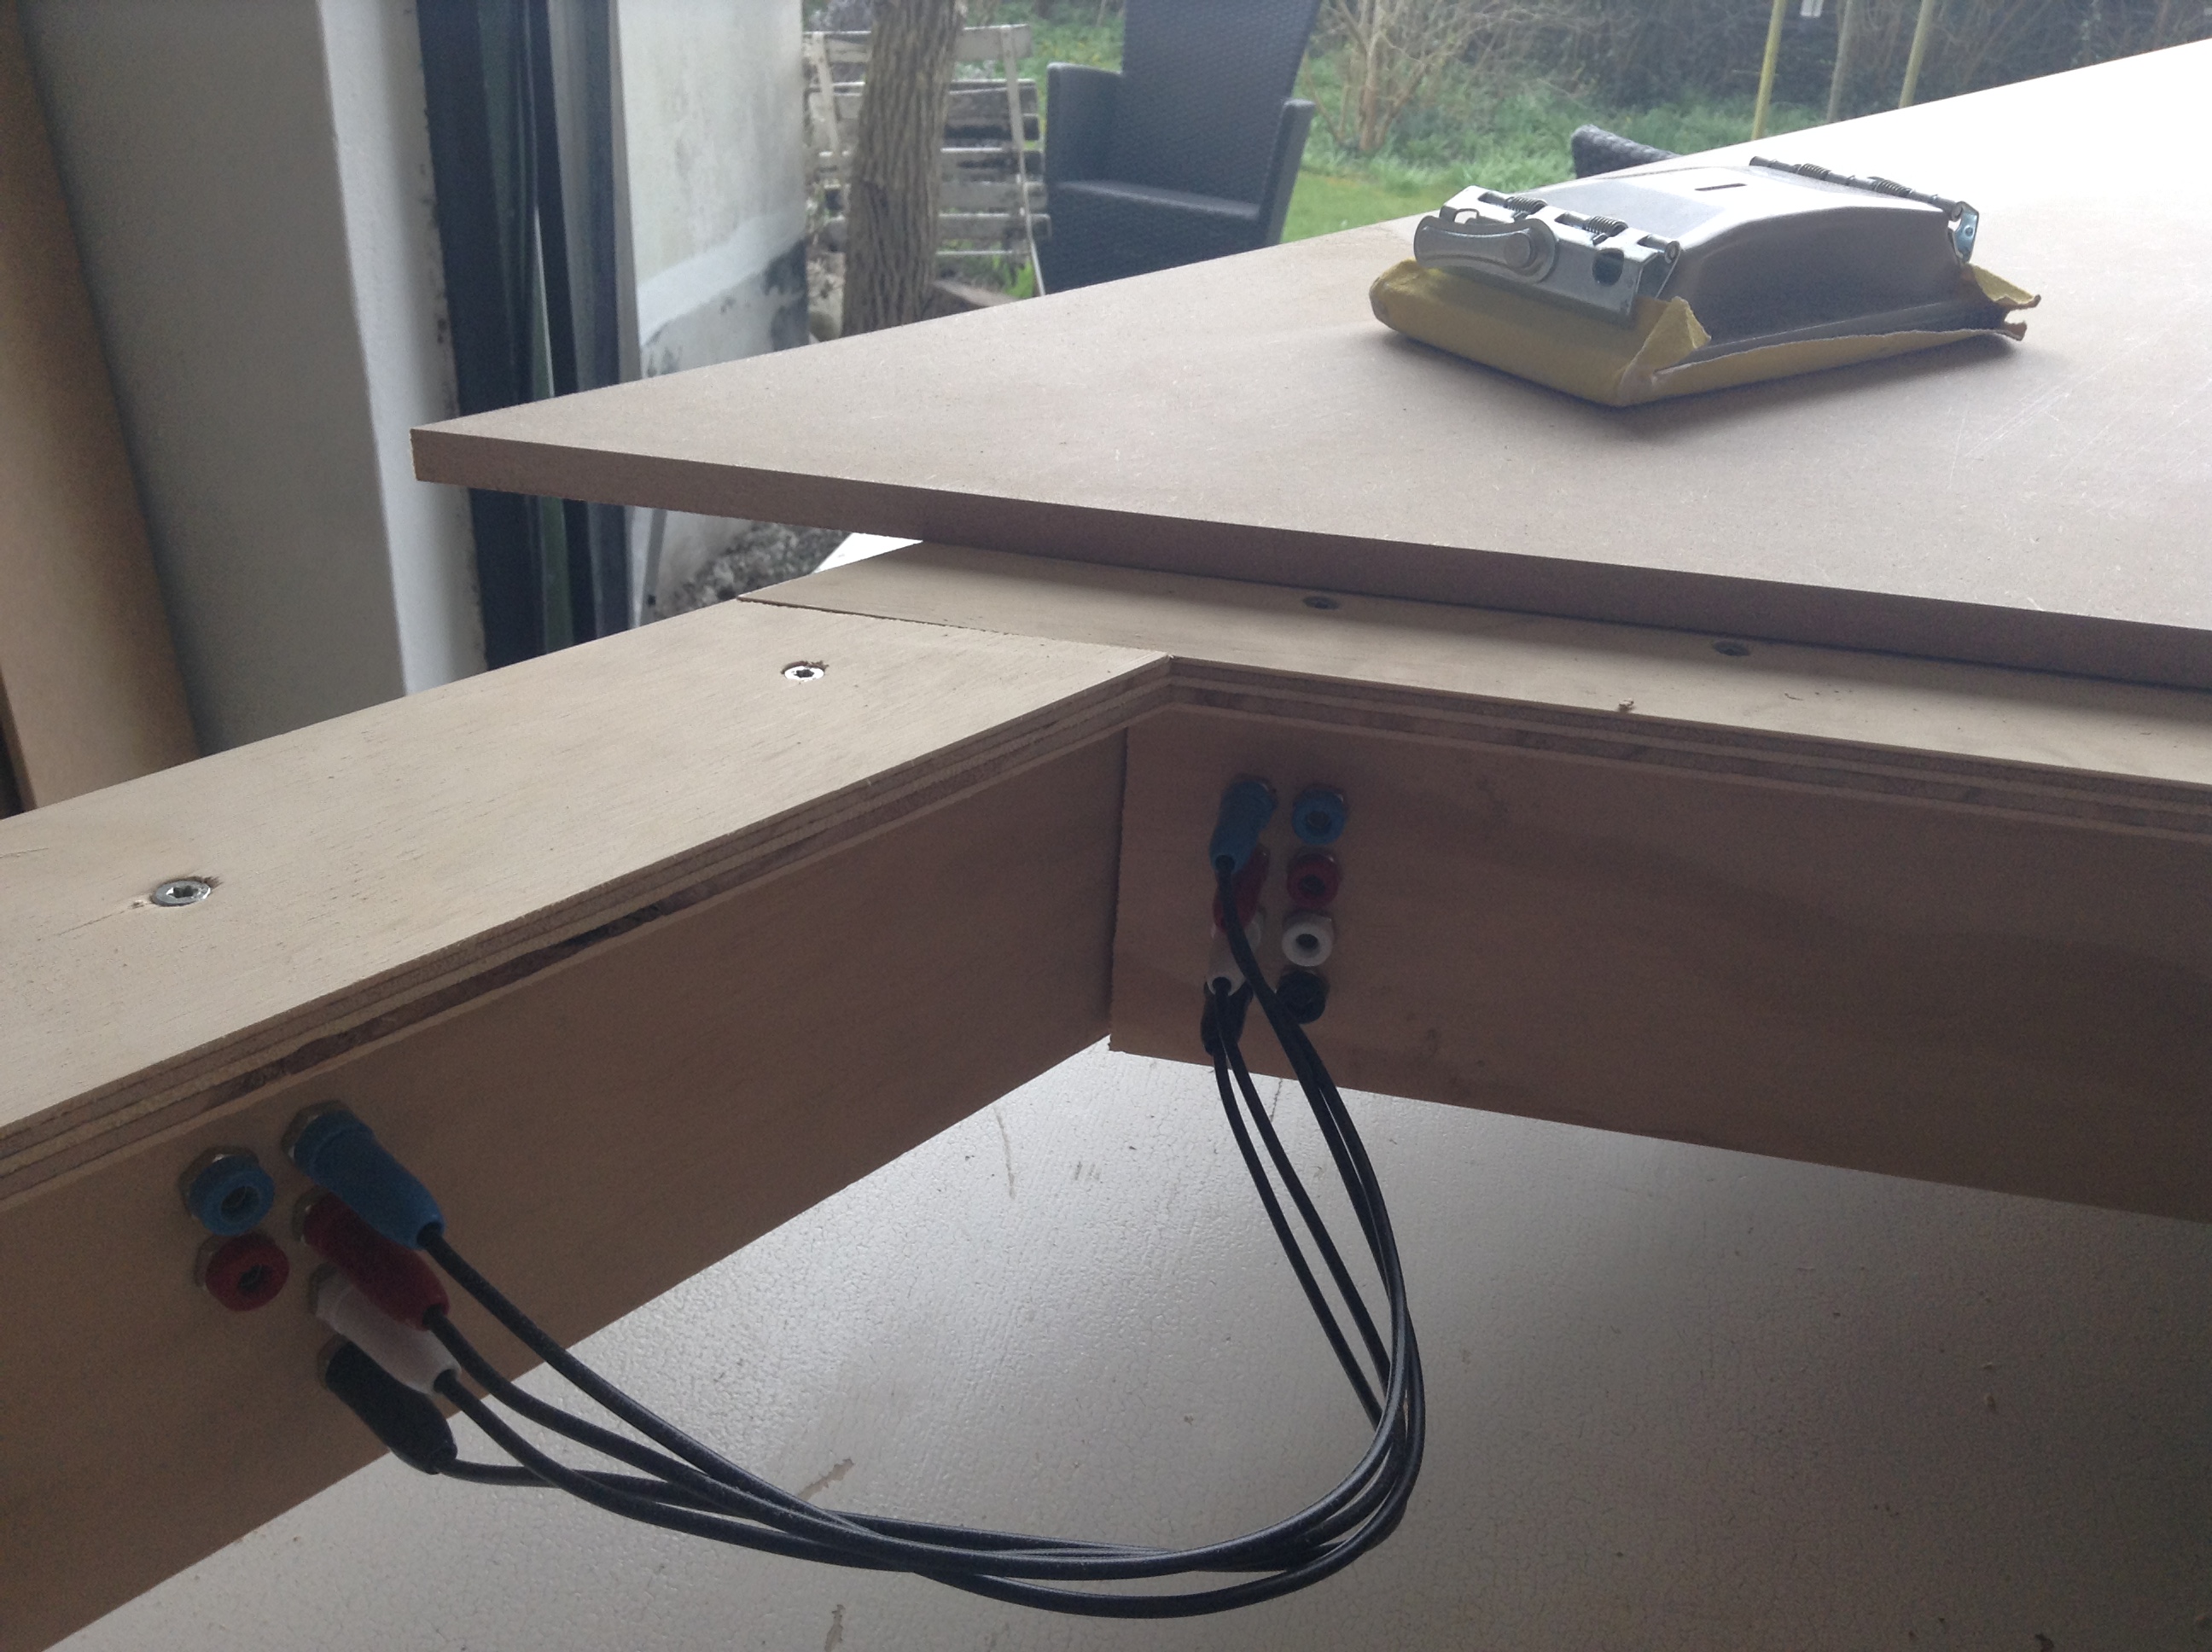
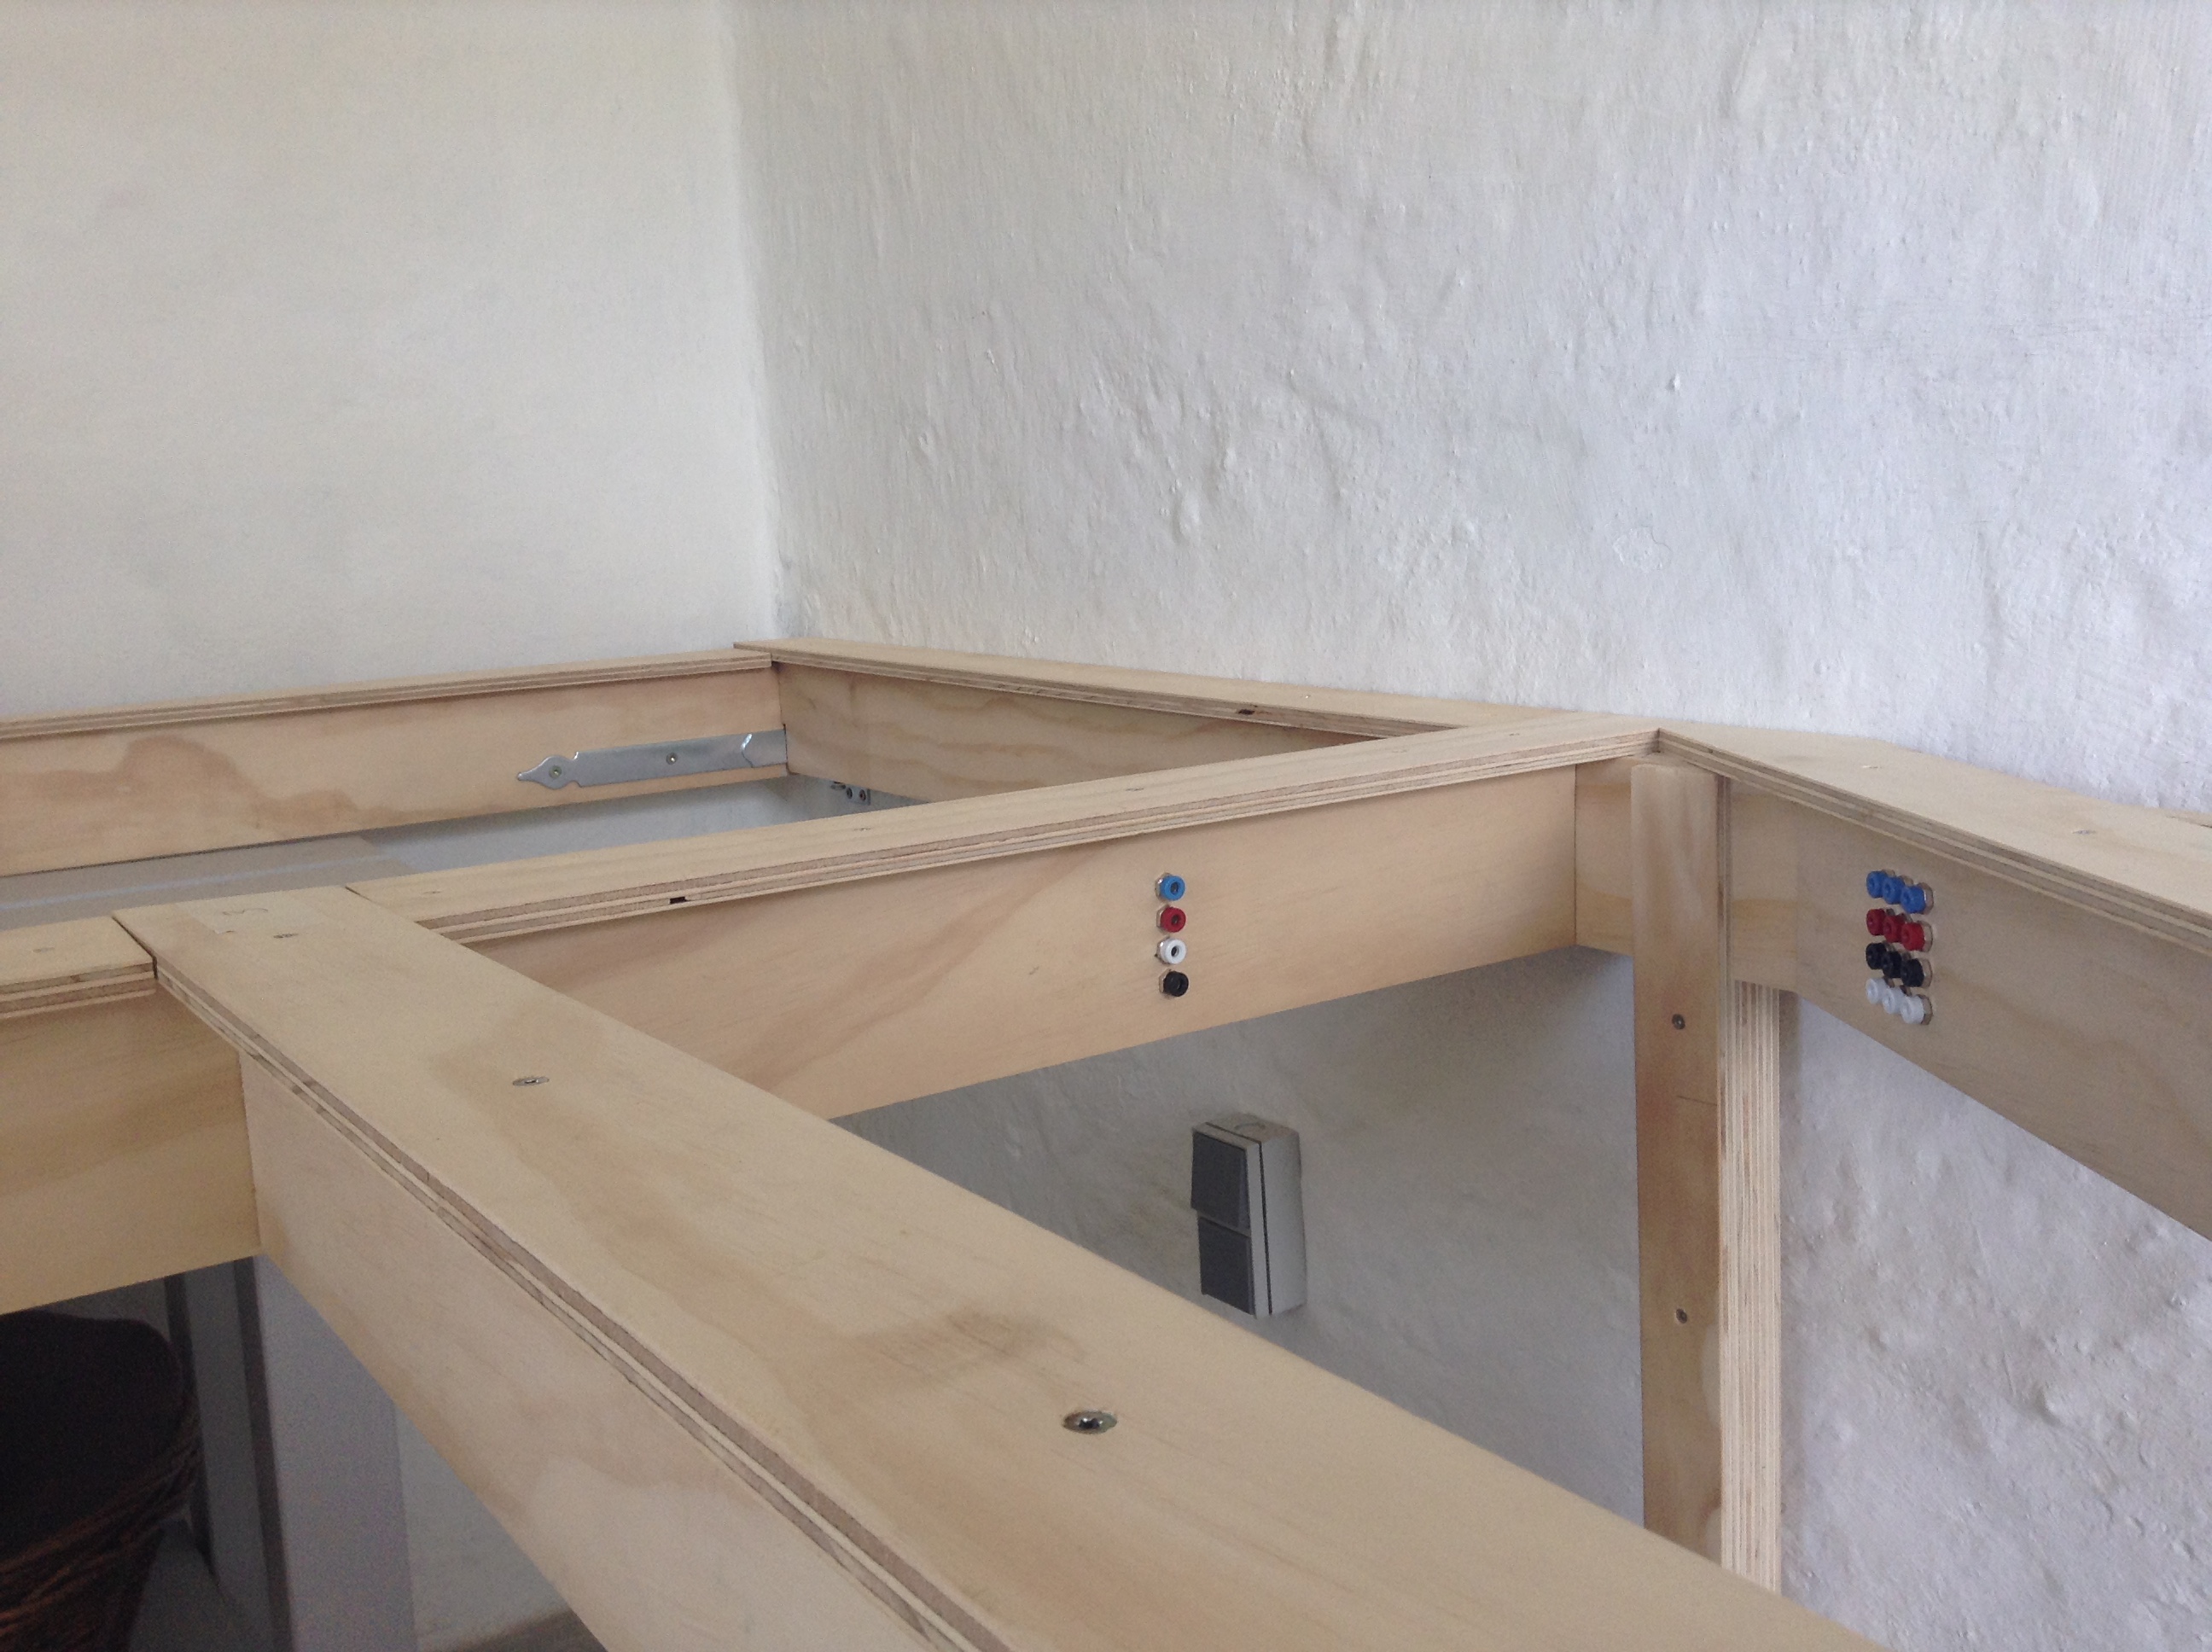
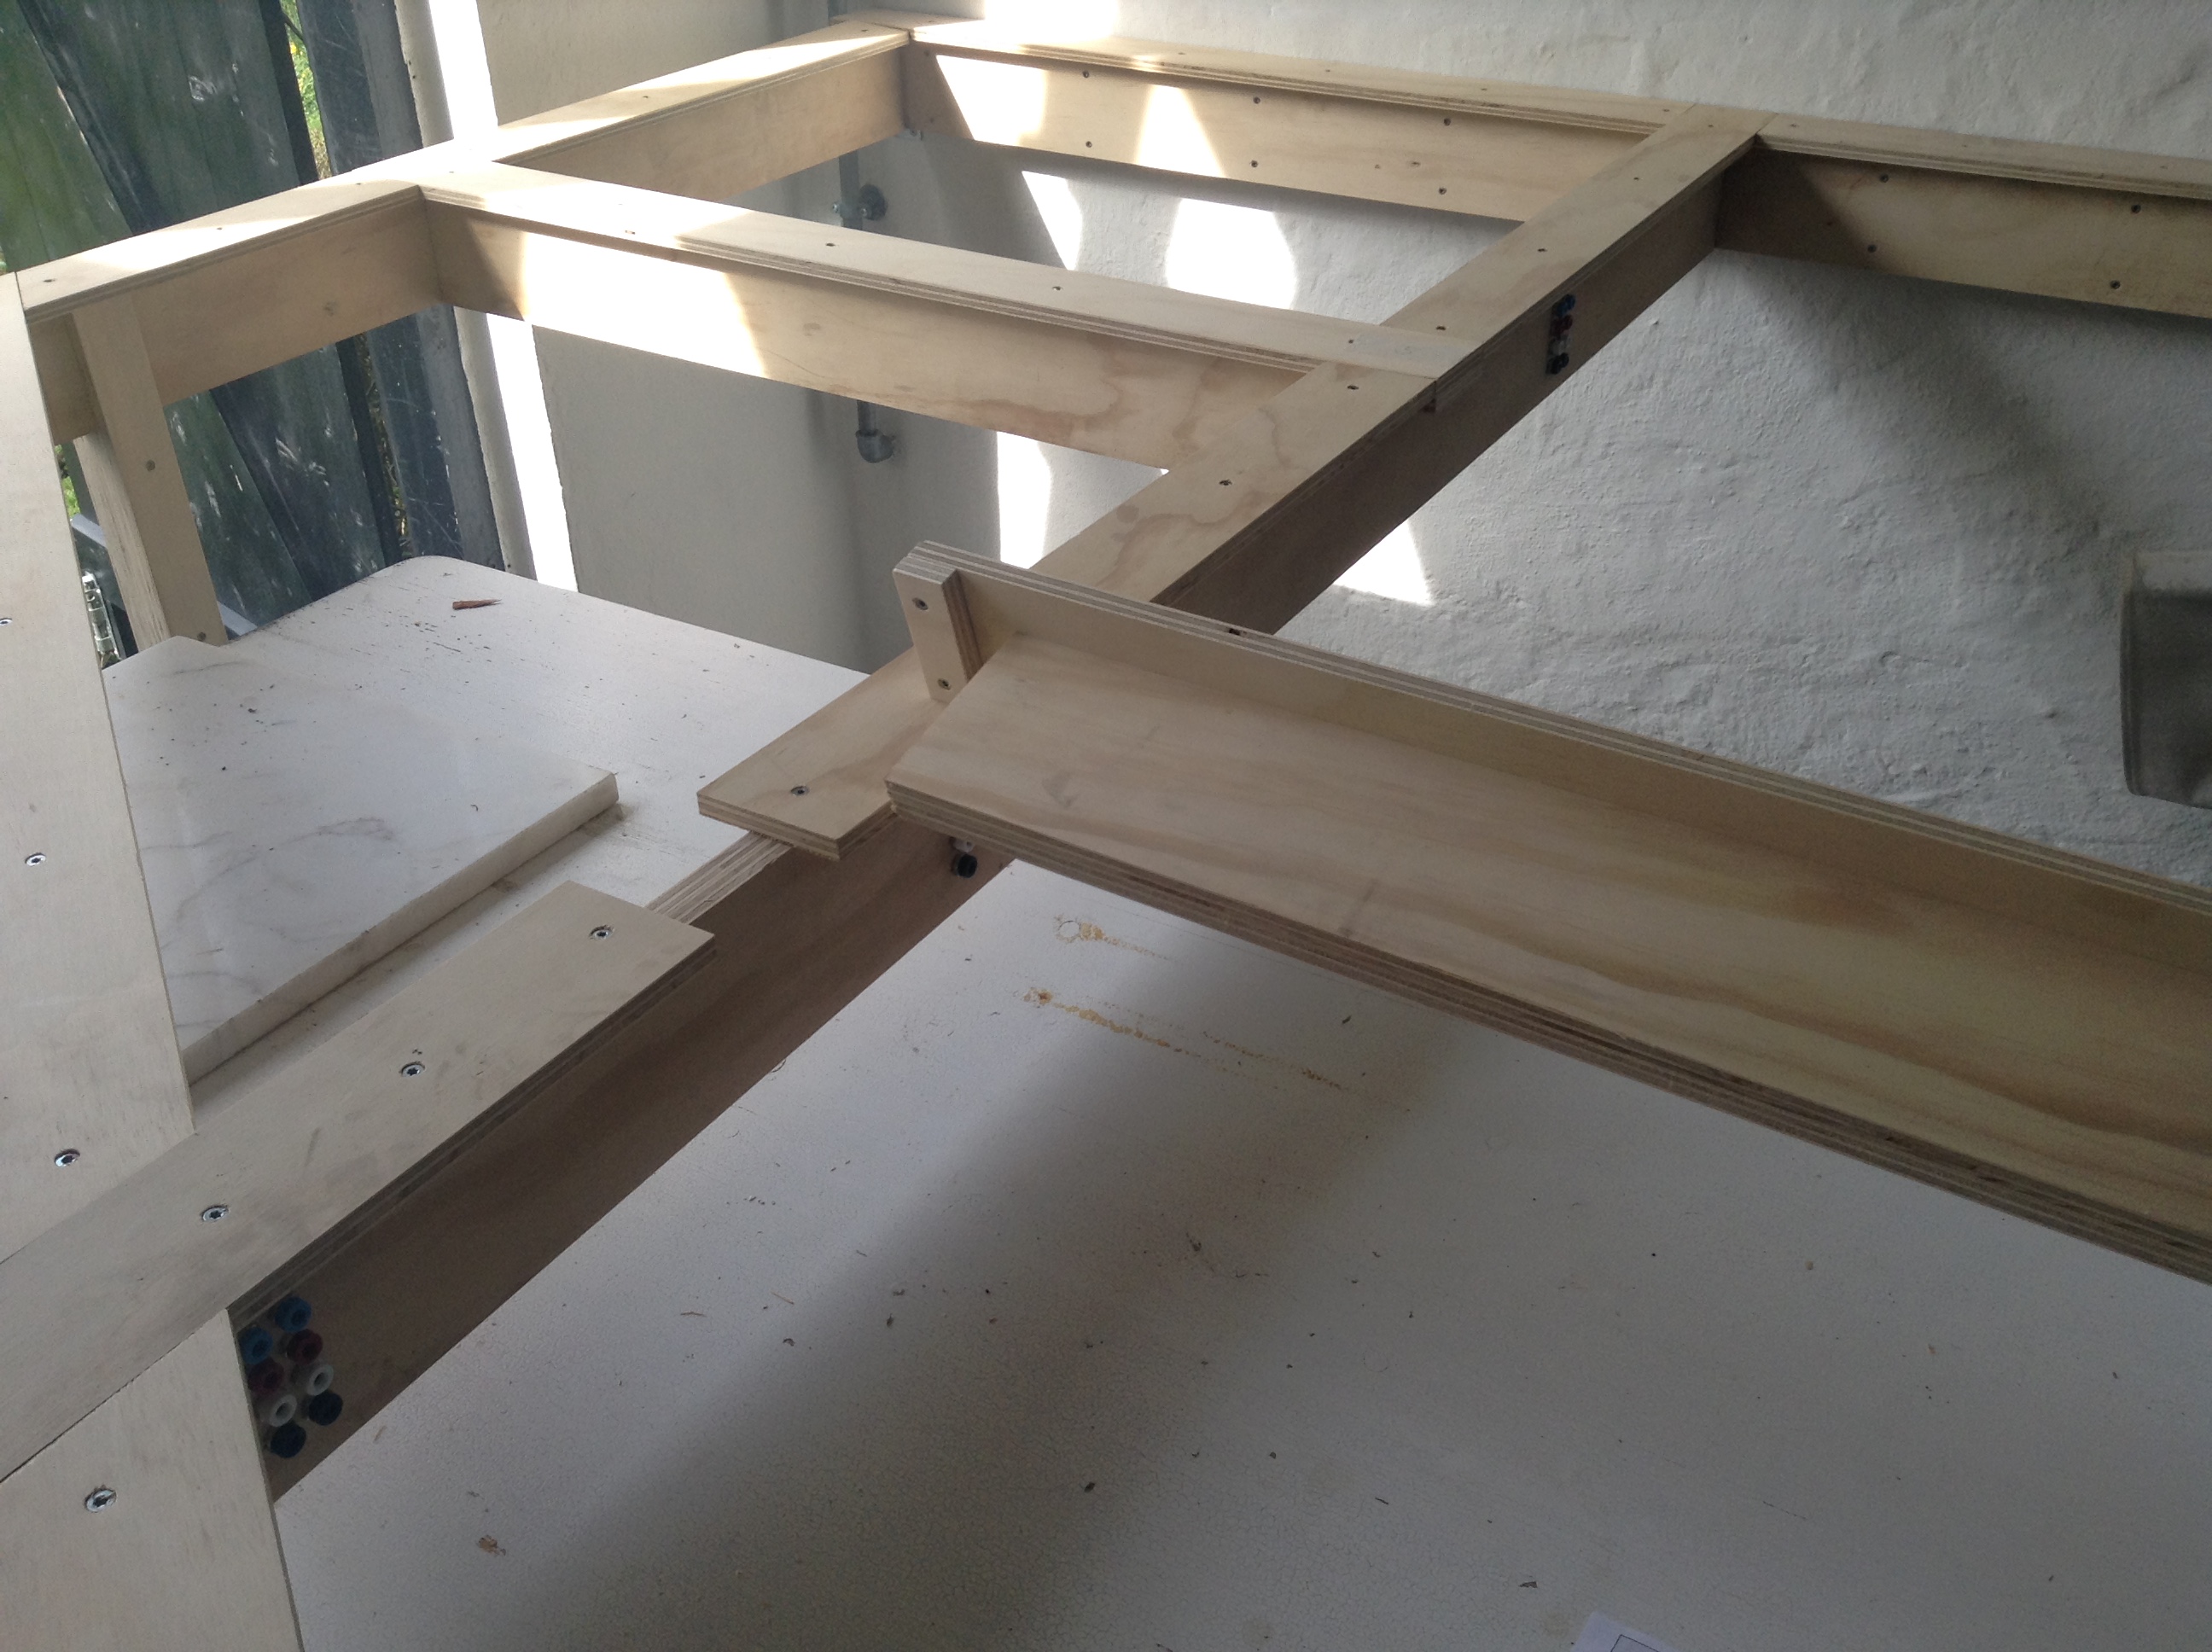
Electrical frames
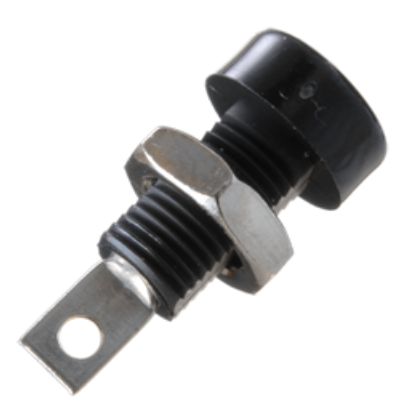
In order to prevent a bird’s nest of wires underneath the track, I have chosen to make some of my frames with build-in connections for both 12VDC (RED and BLUE) and track power (BLACK and WHITE). I have made them of 2 layers of 12 x 100 mm plywood, where I have routed space for wirering (4 x 2,5 mm²), drilled holes for connections and glued them together after soldering. The frames will be connected to one and other with short colored wires and the same for the connections from the frame to the track.
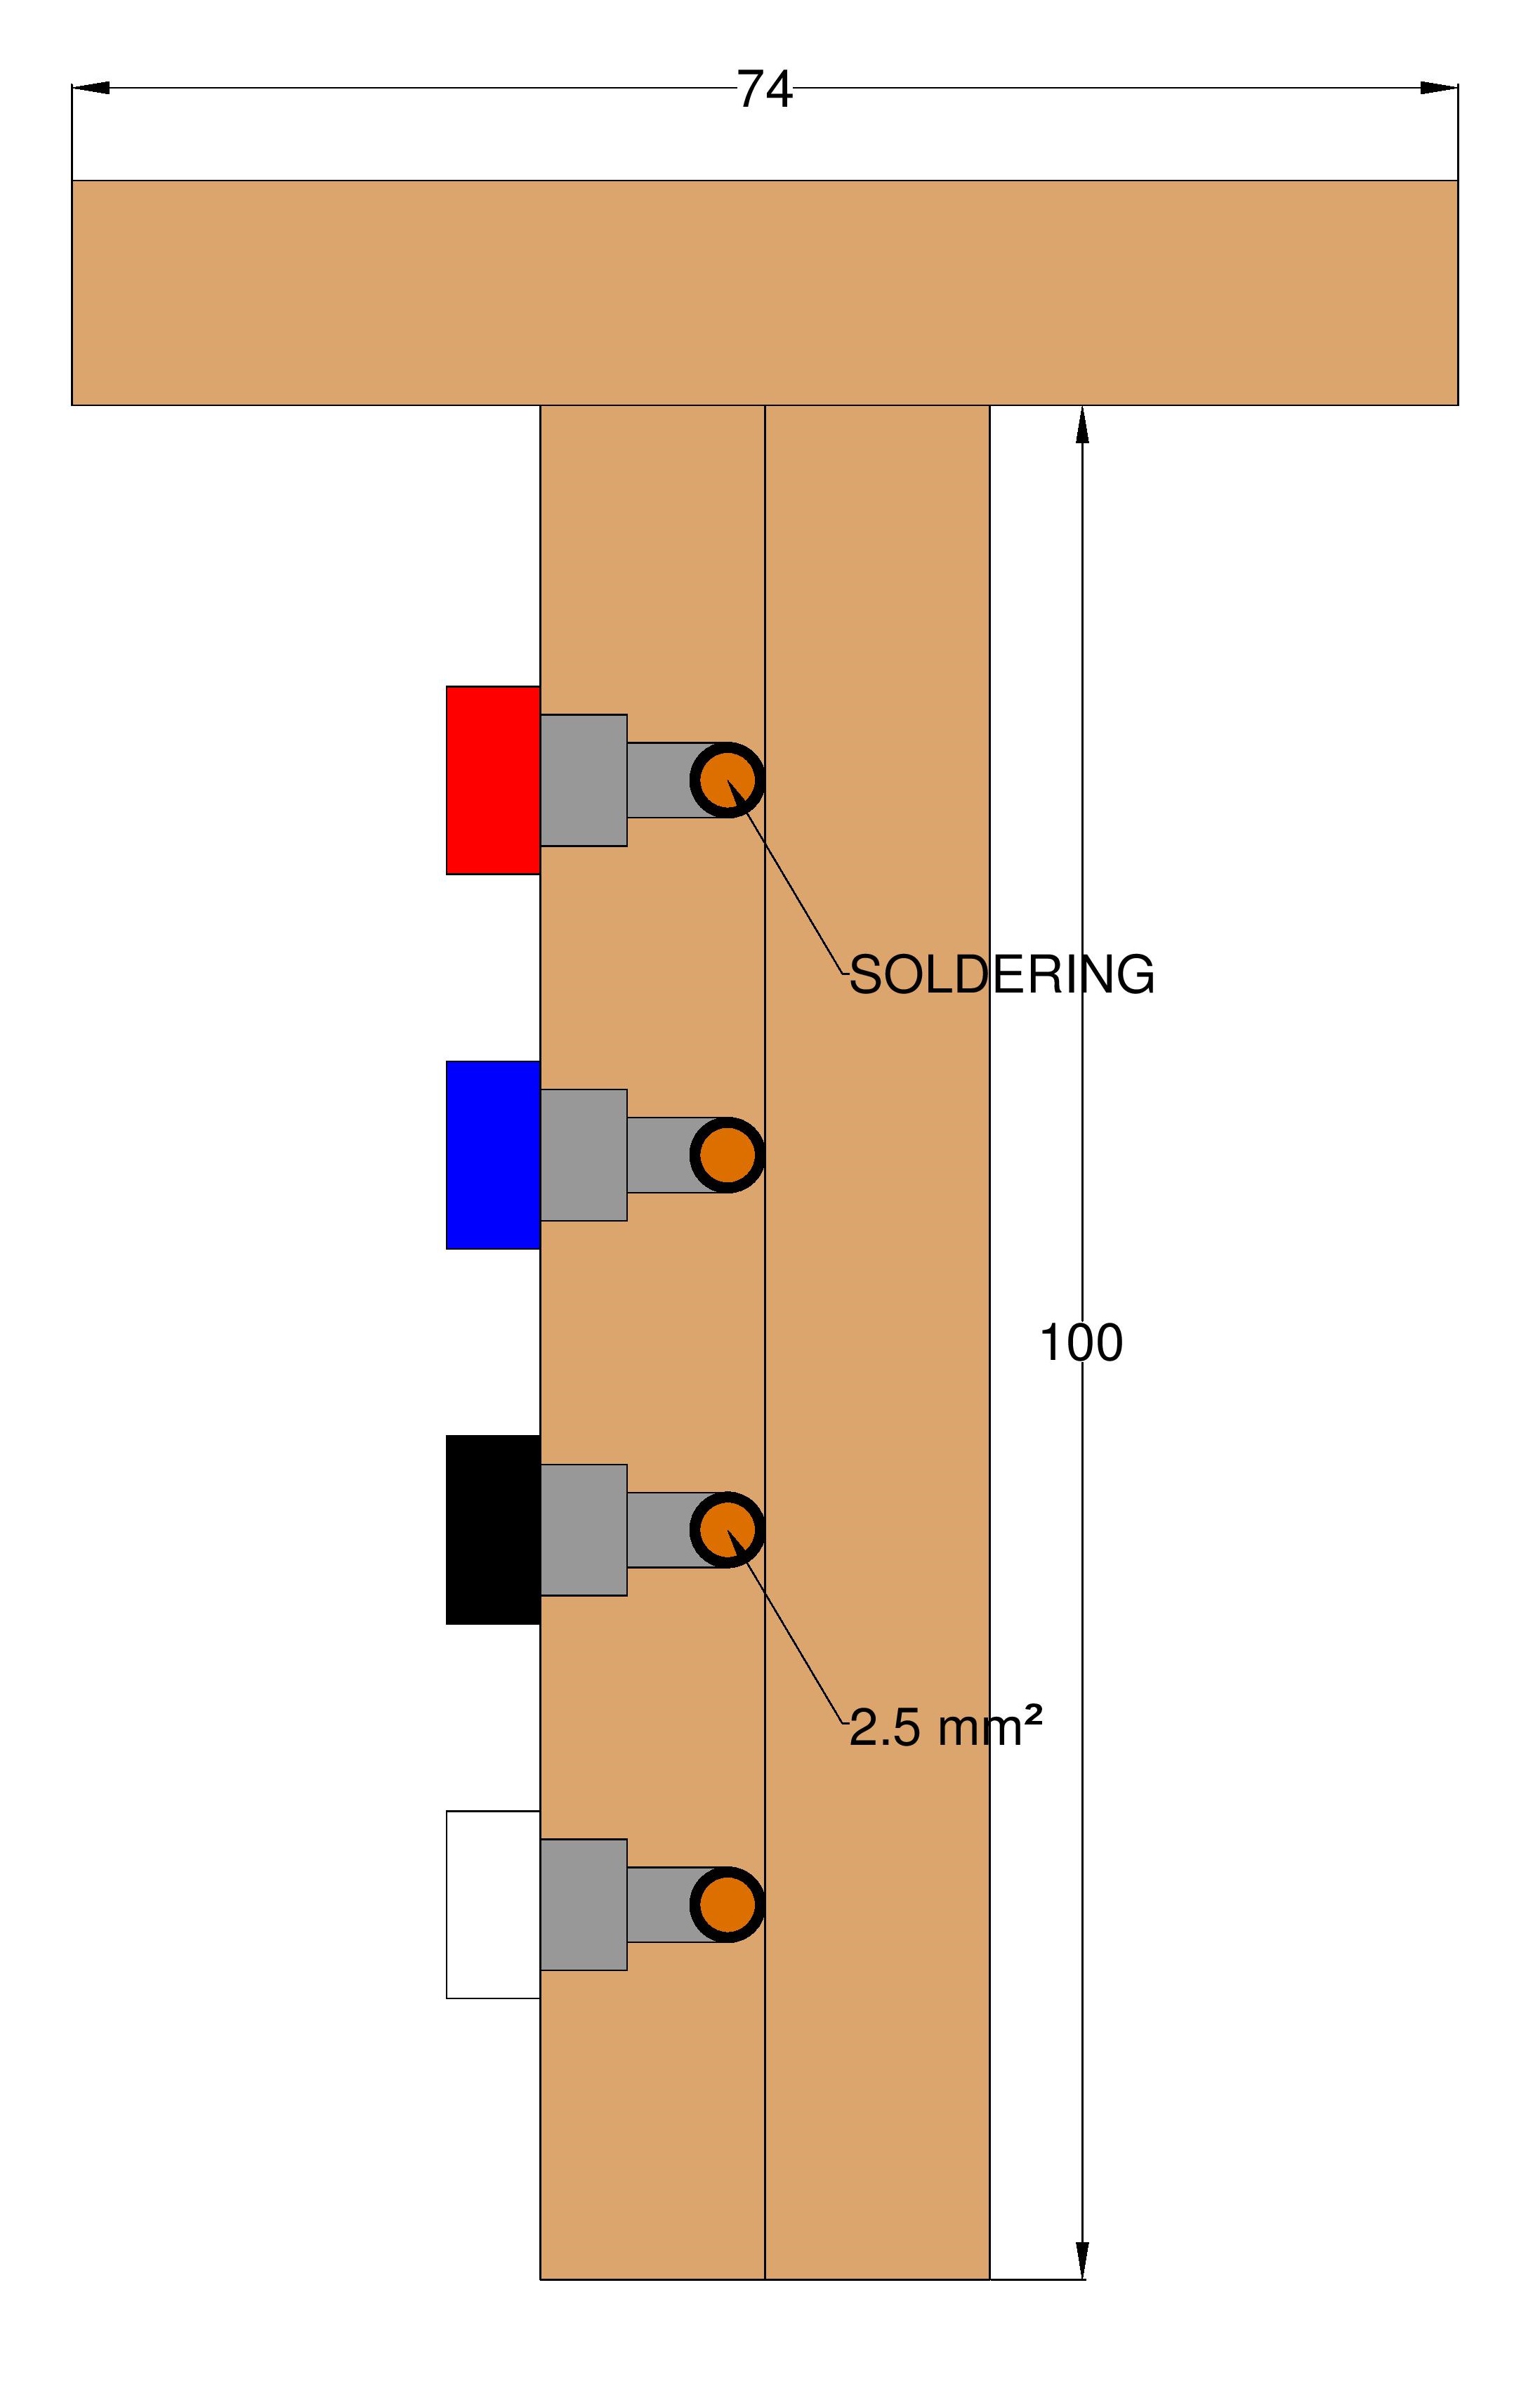
Figure 1: T-Beam with build-in electrical connections.


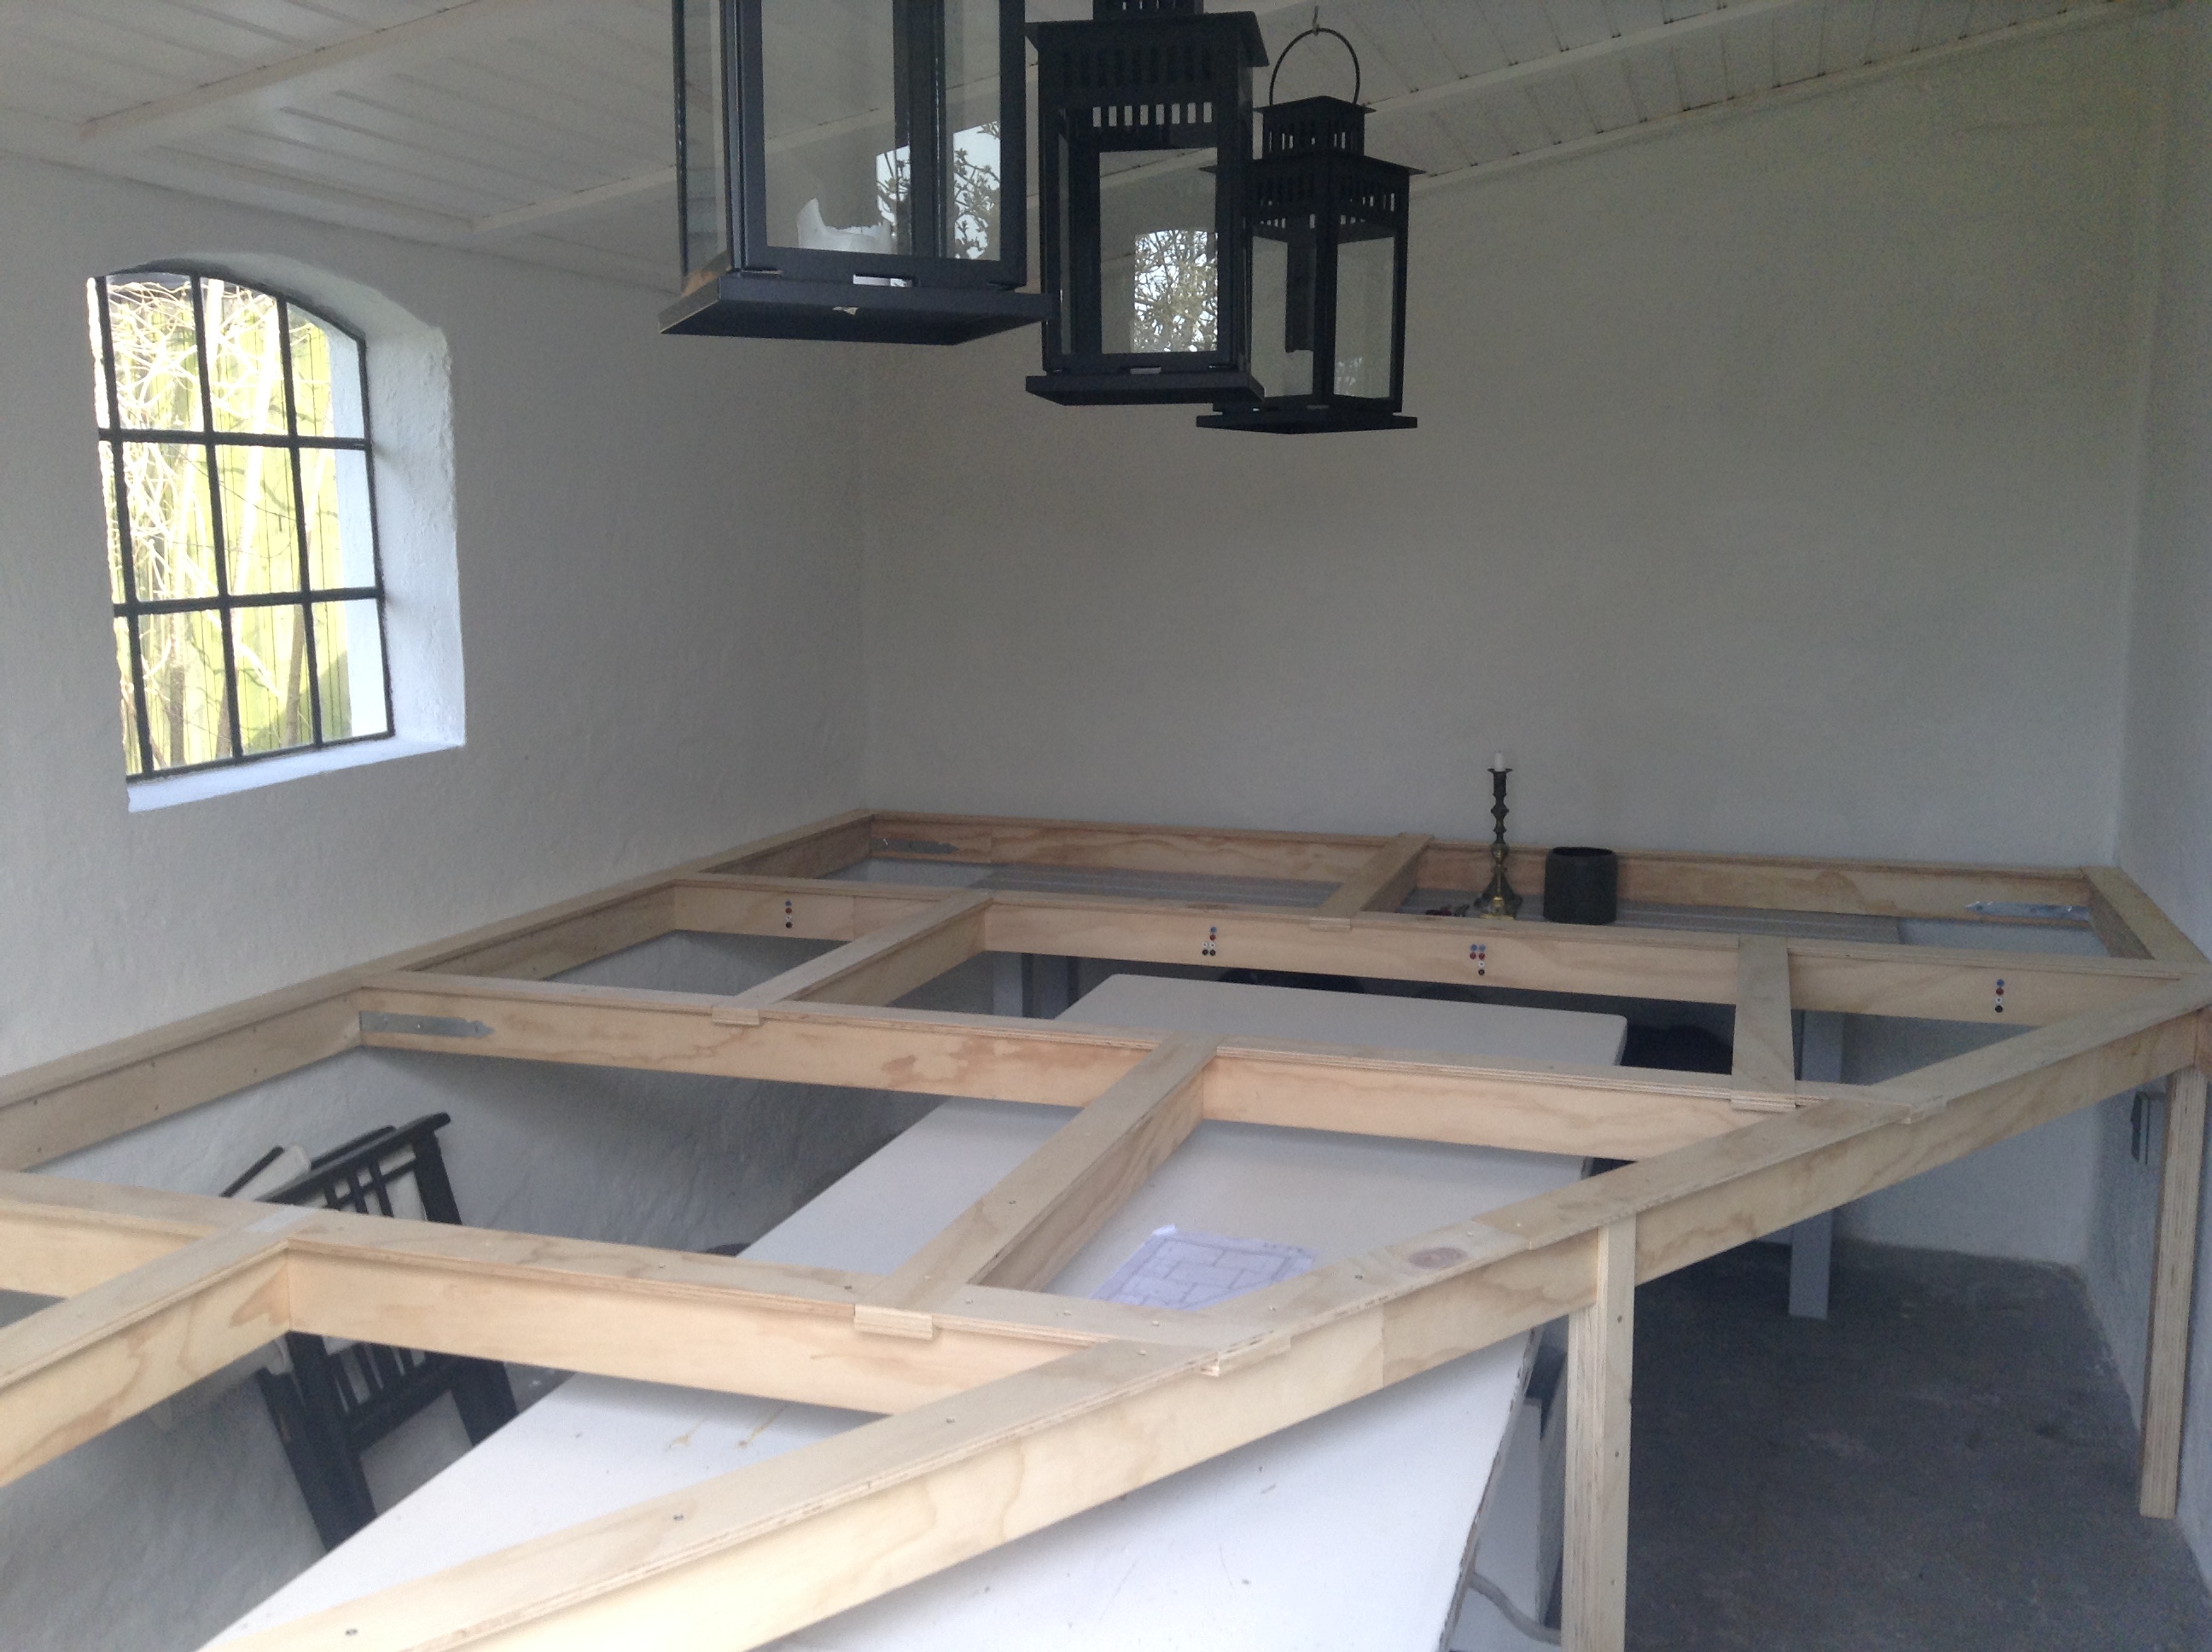
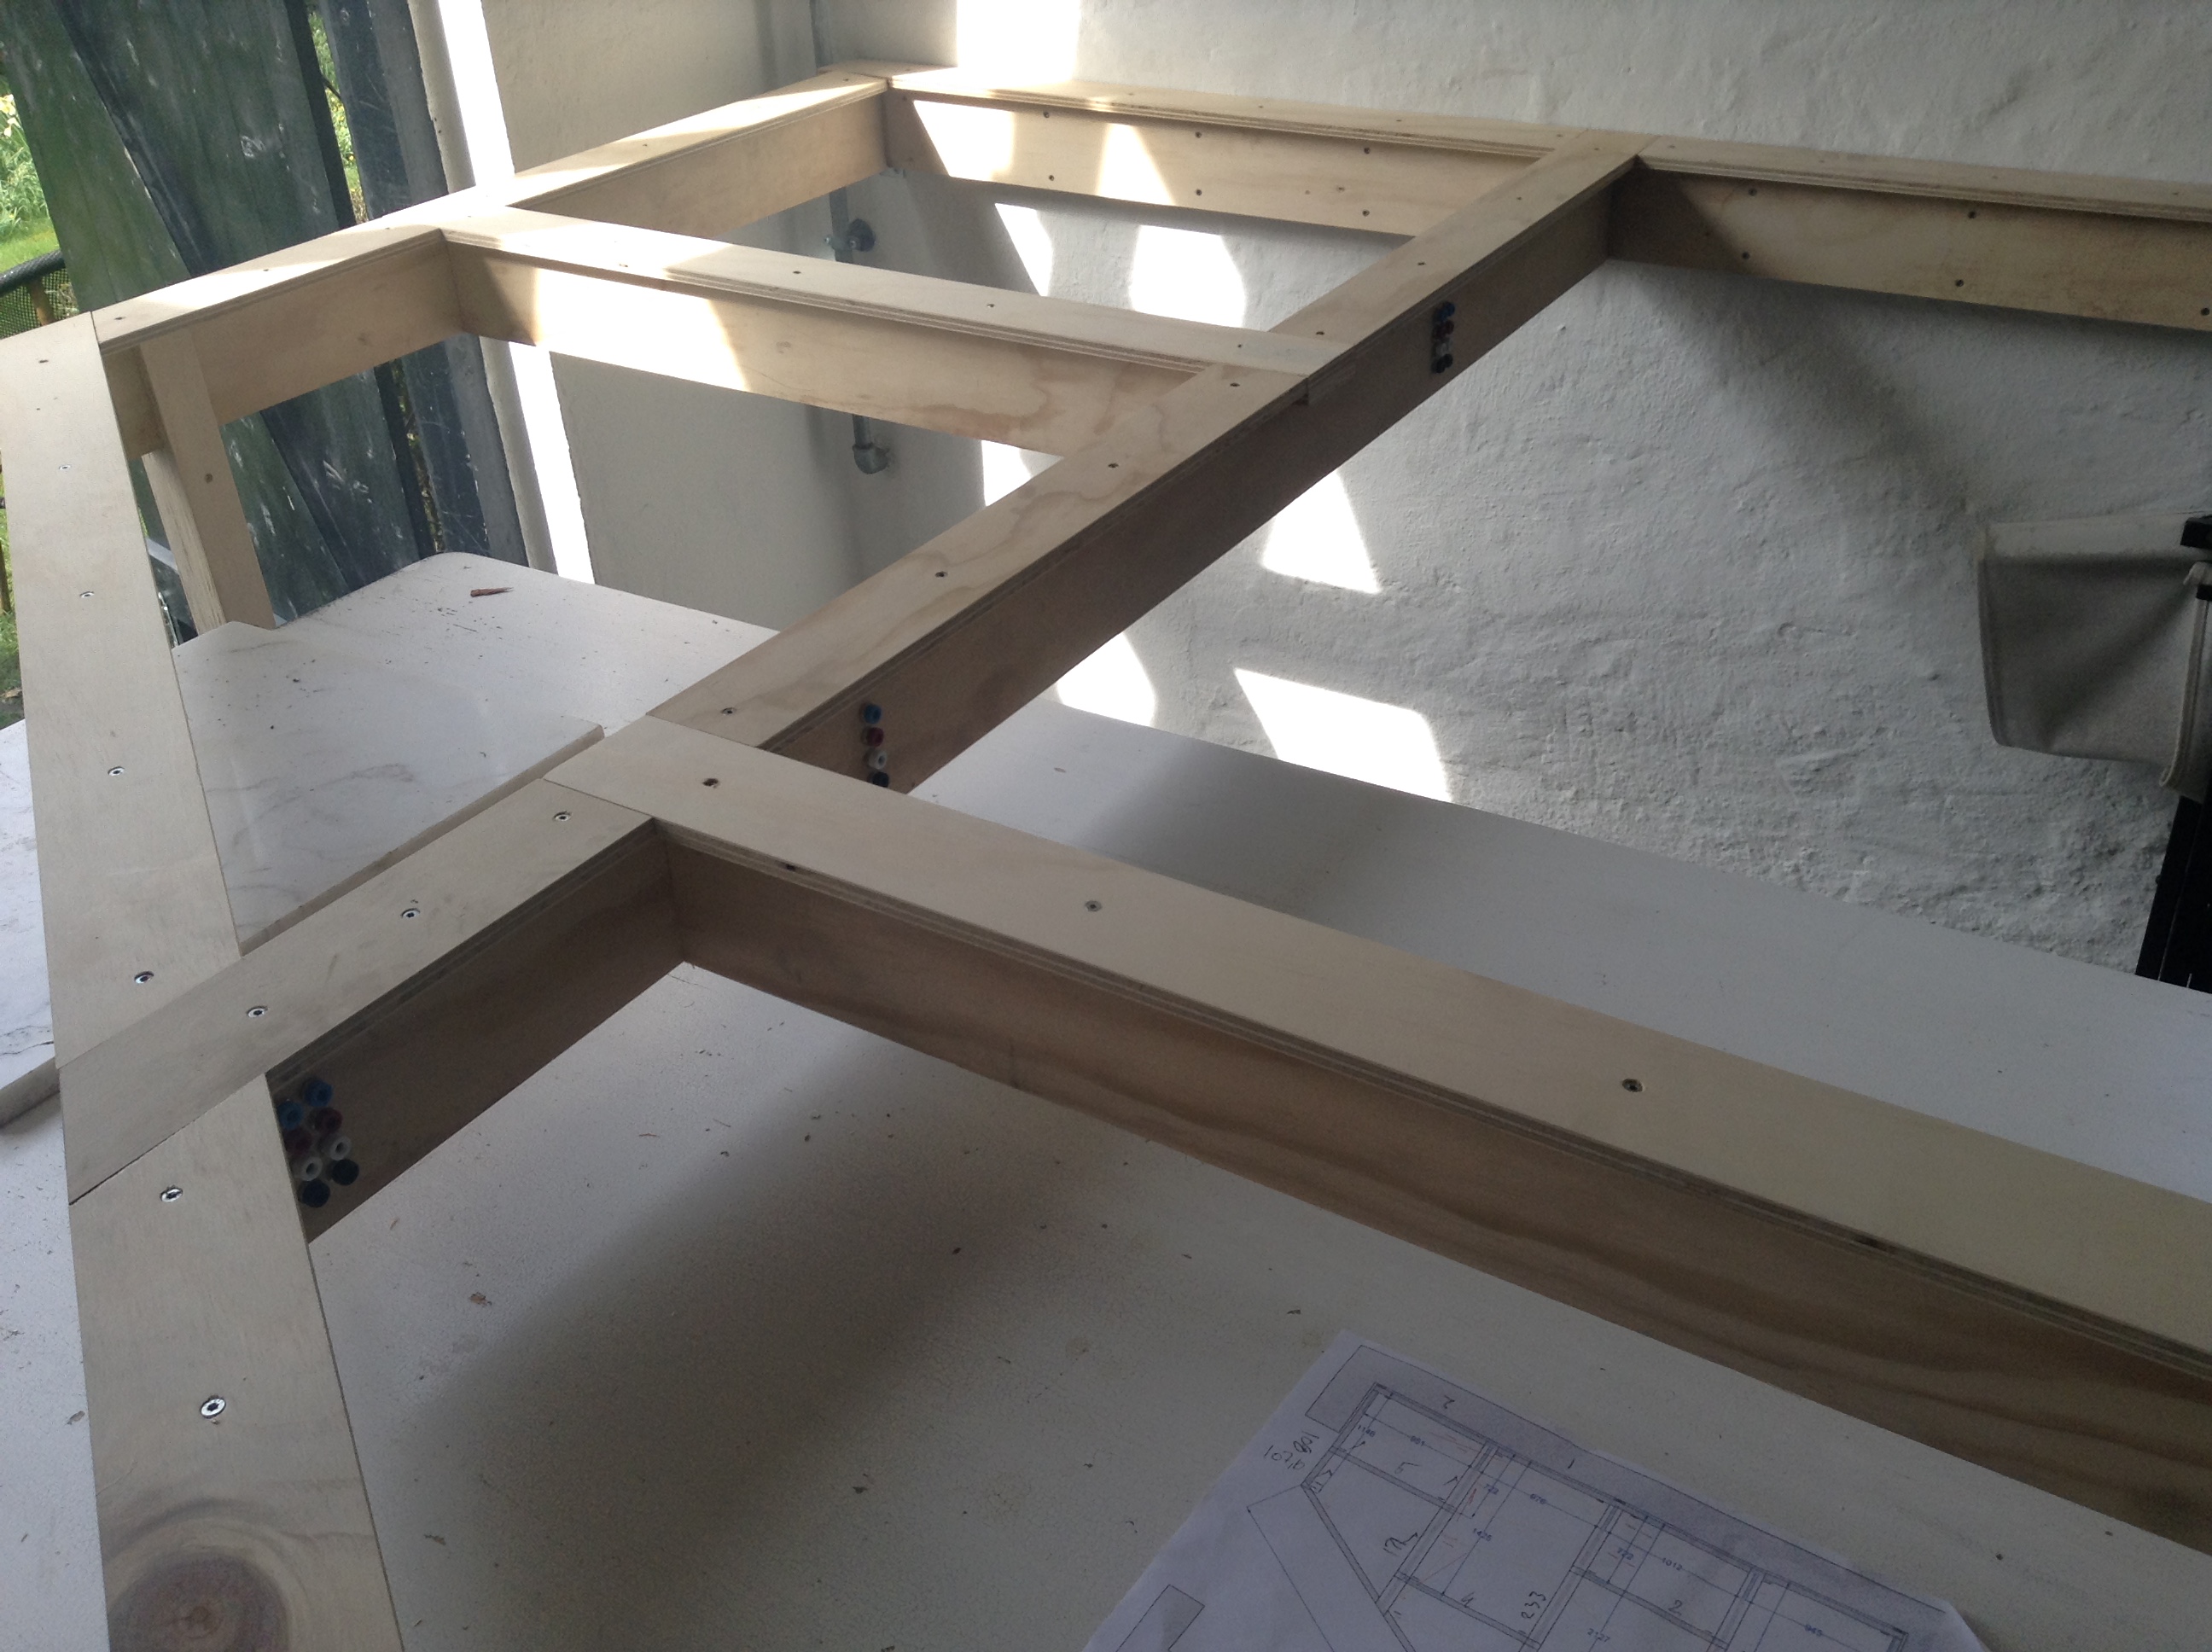
Assembly of the frame
As I have mentioned earlier, my track isn’t a permanent one, so it has to be very easy to assembly and disassembly. All of the fames are ‘T’ shaped and just slides into one and other without any use of tools.
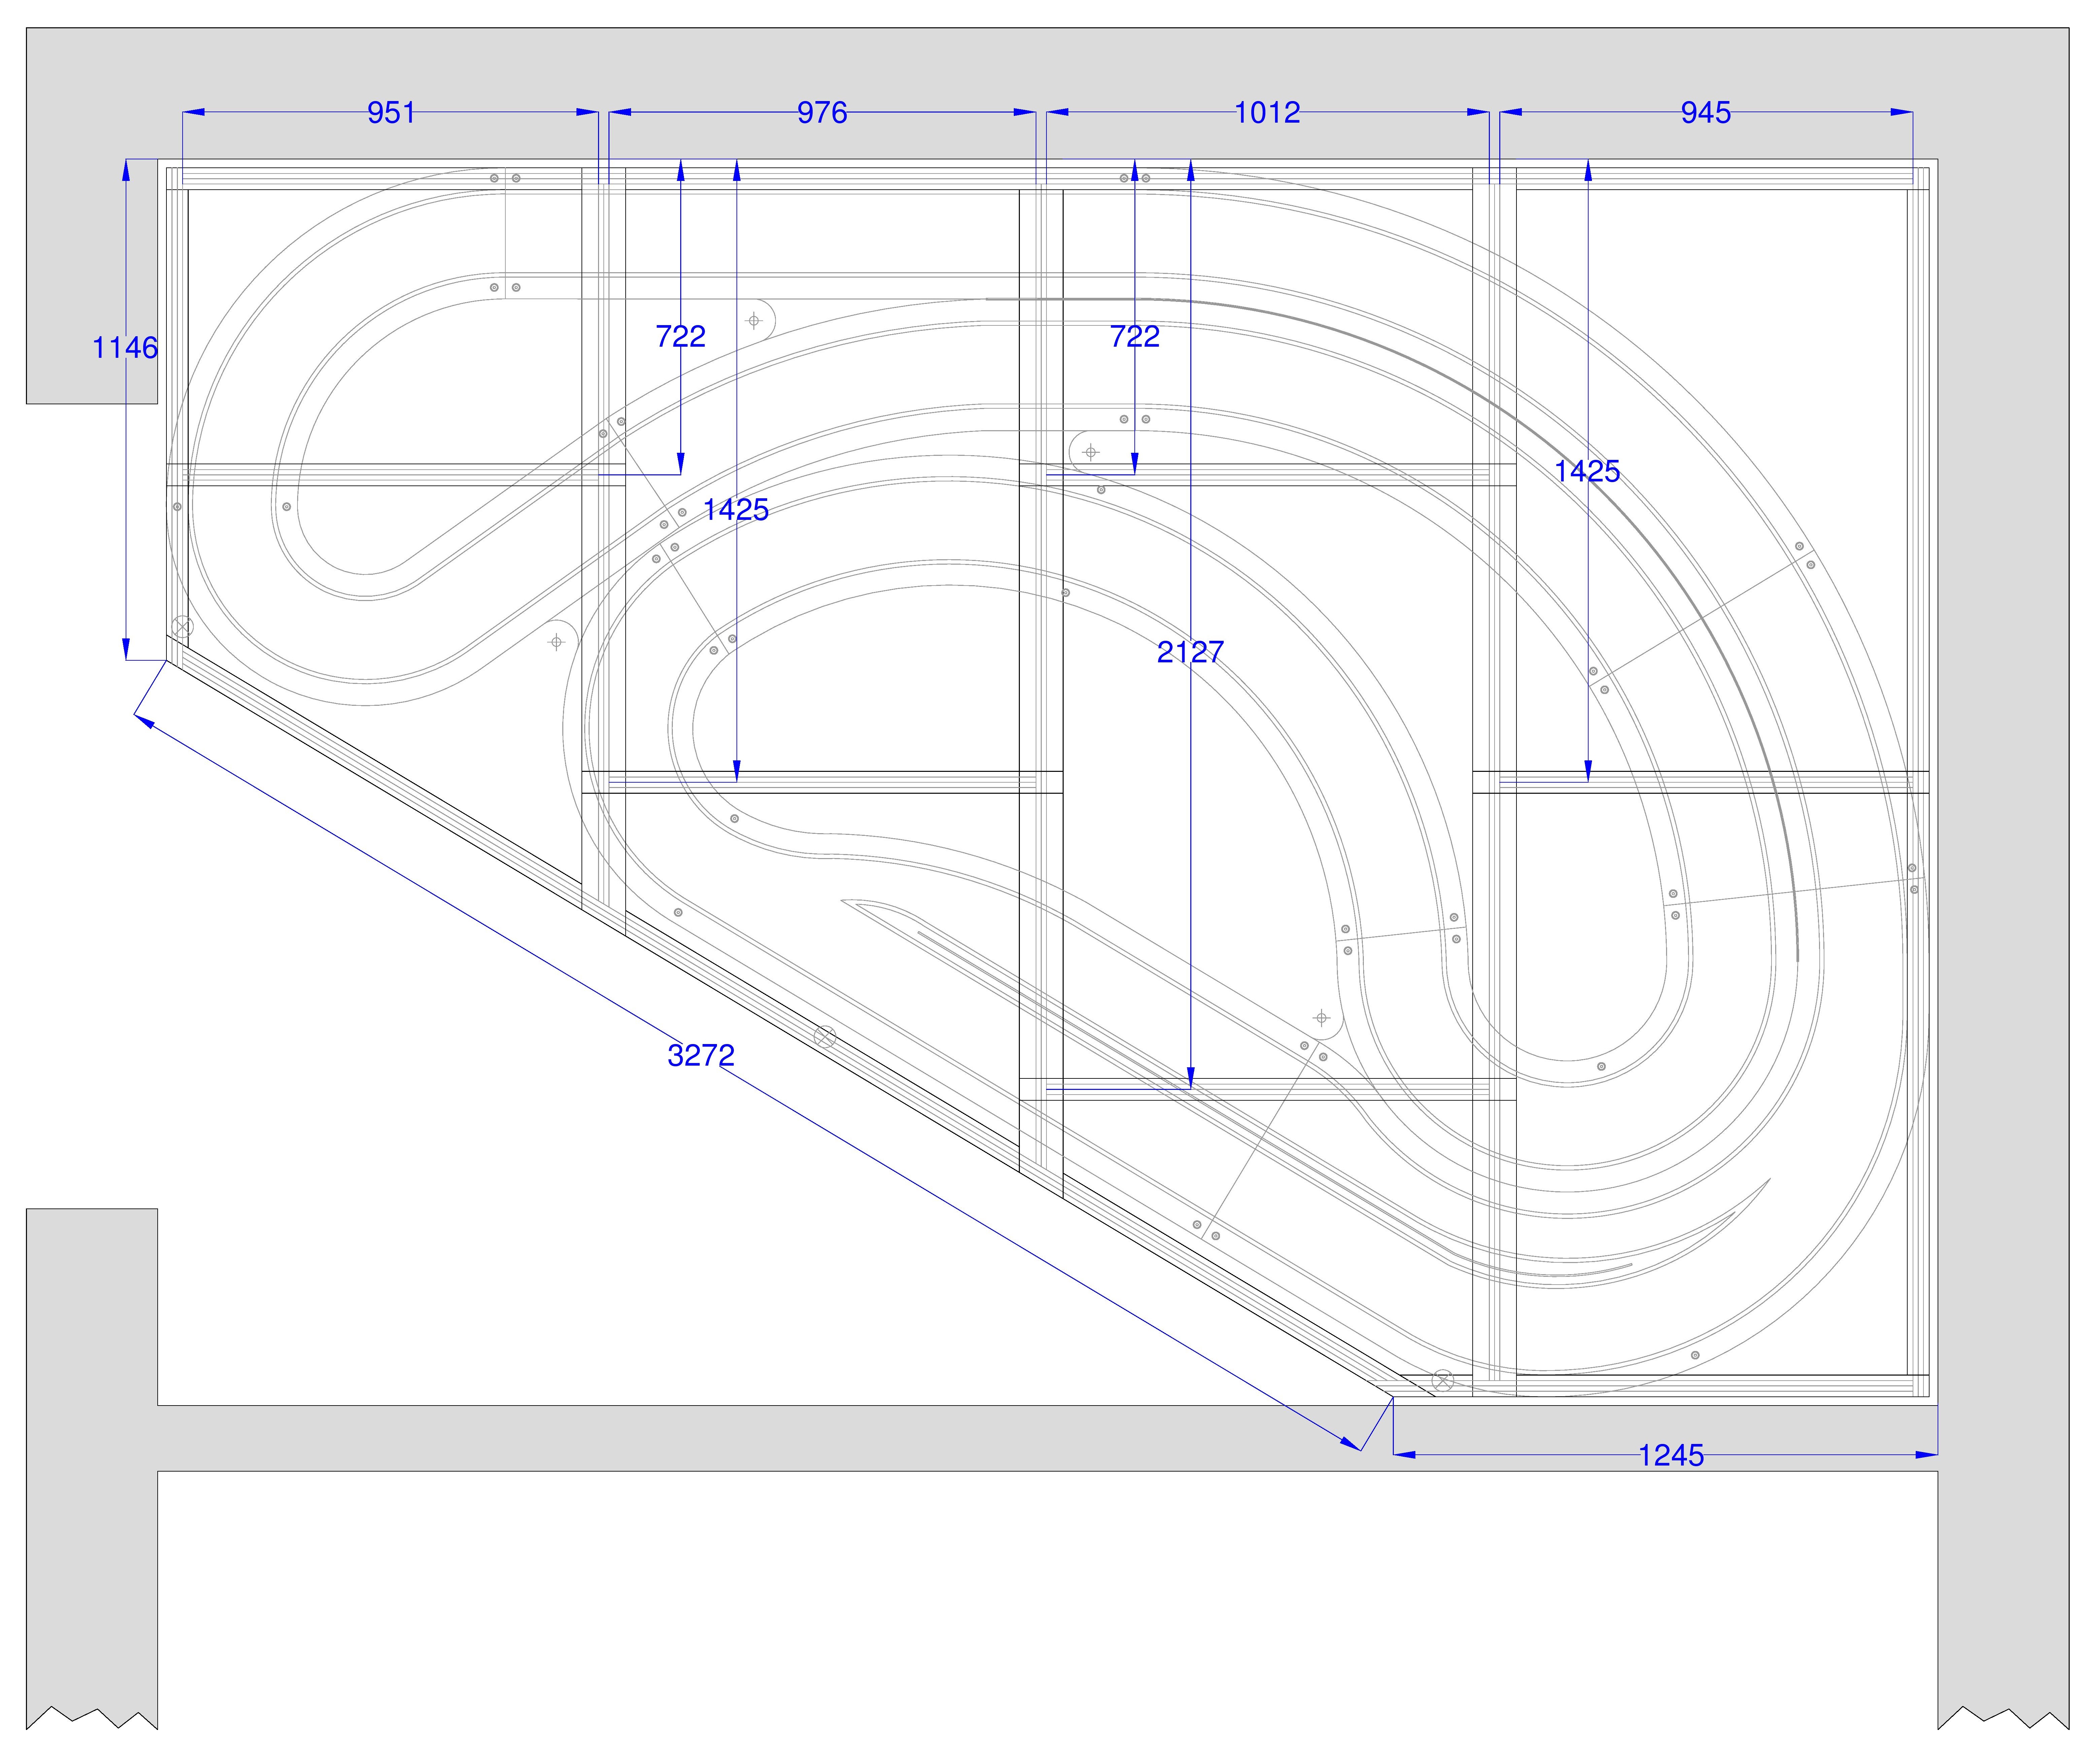
Figure 2: Frame

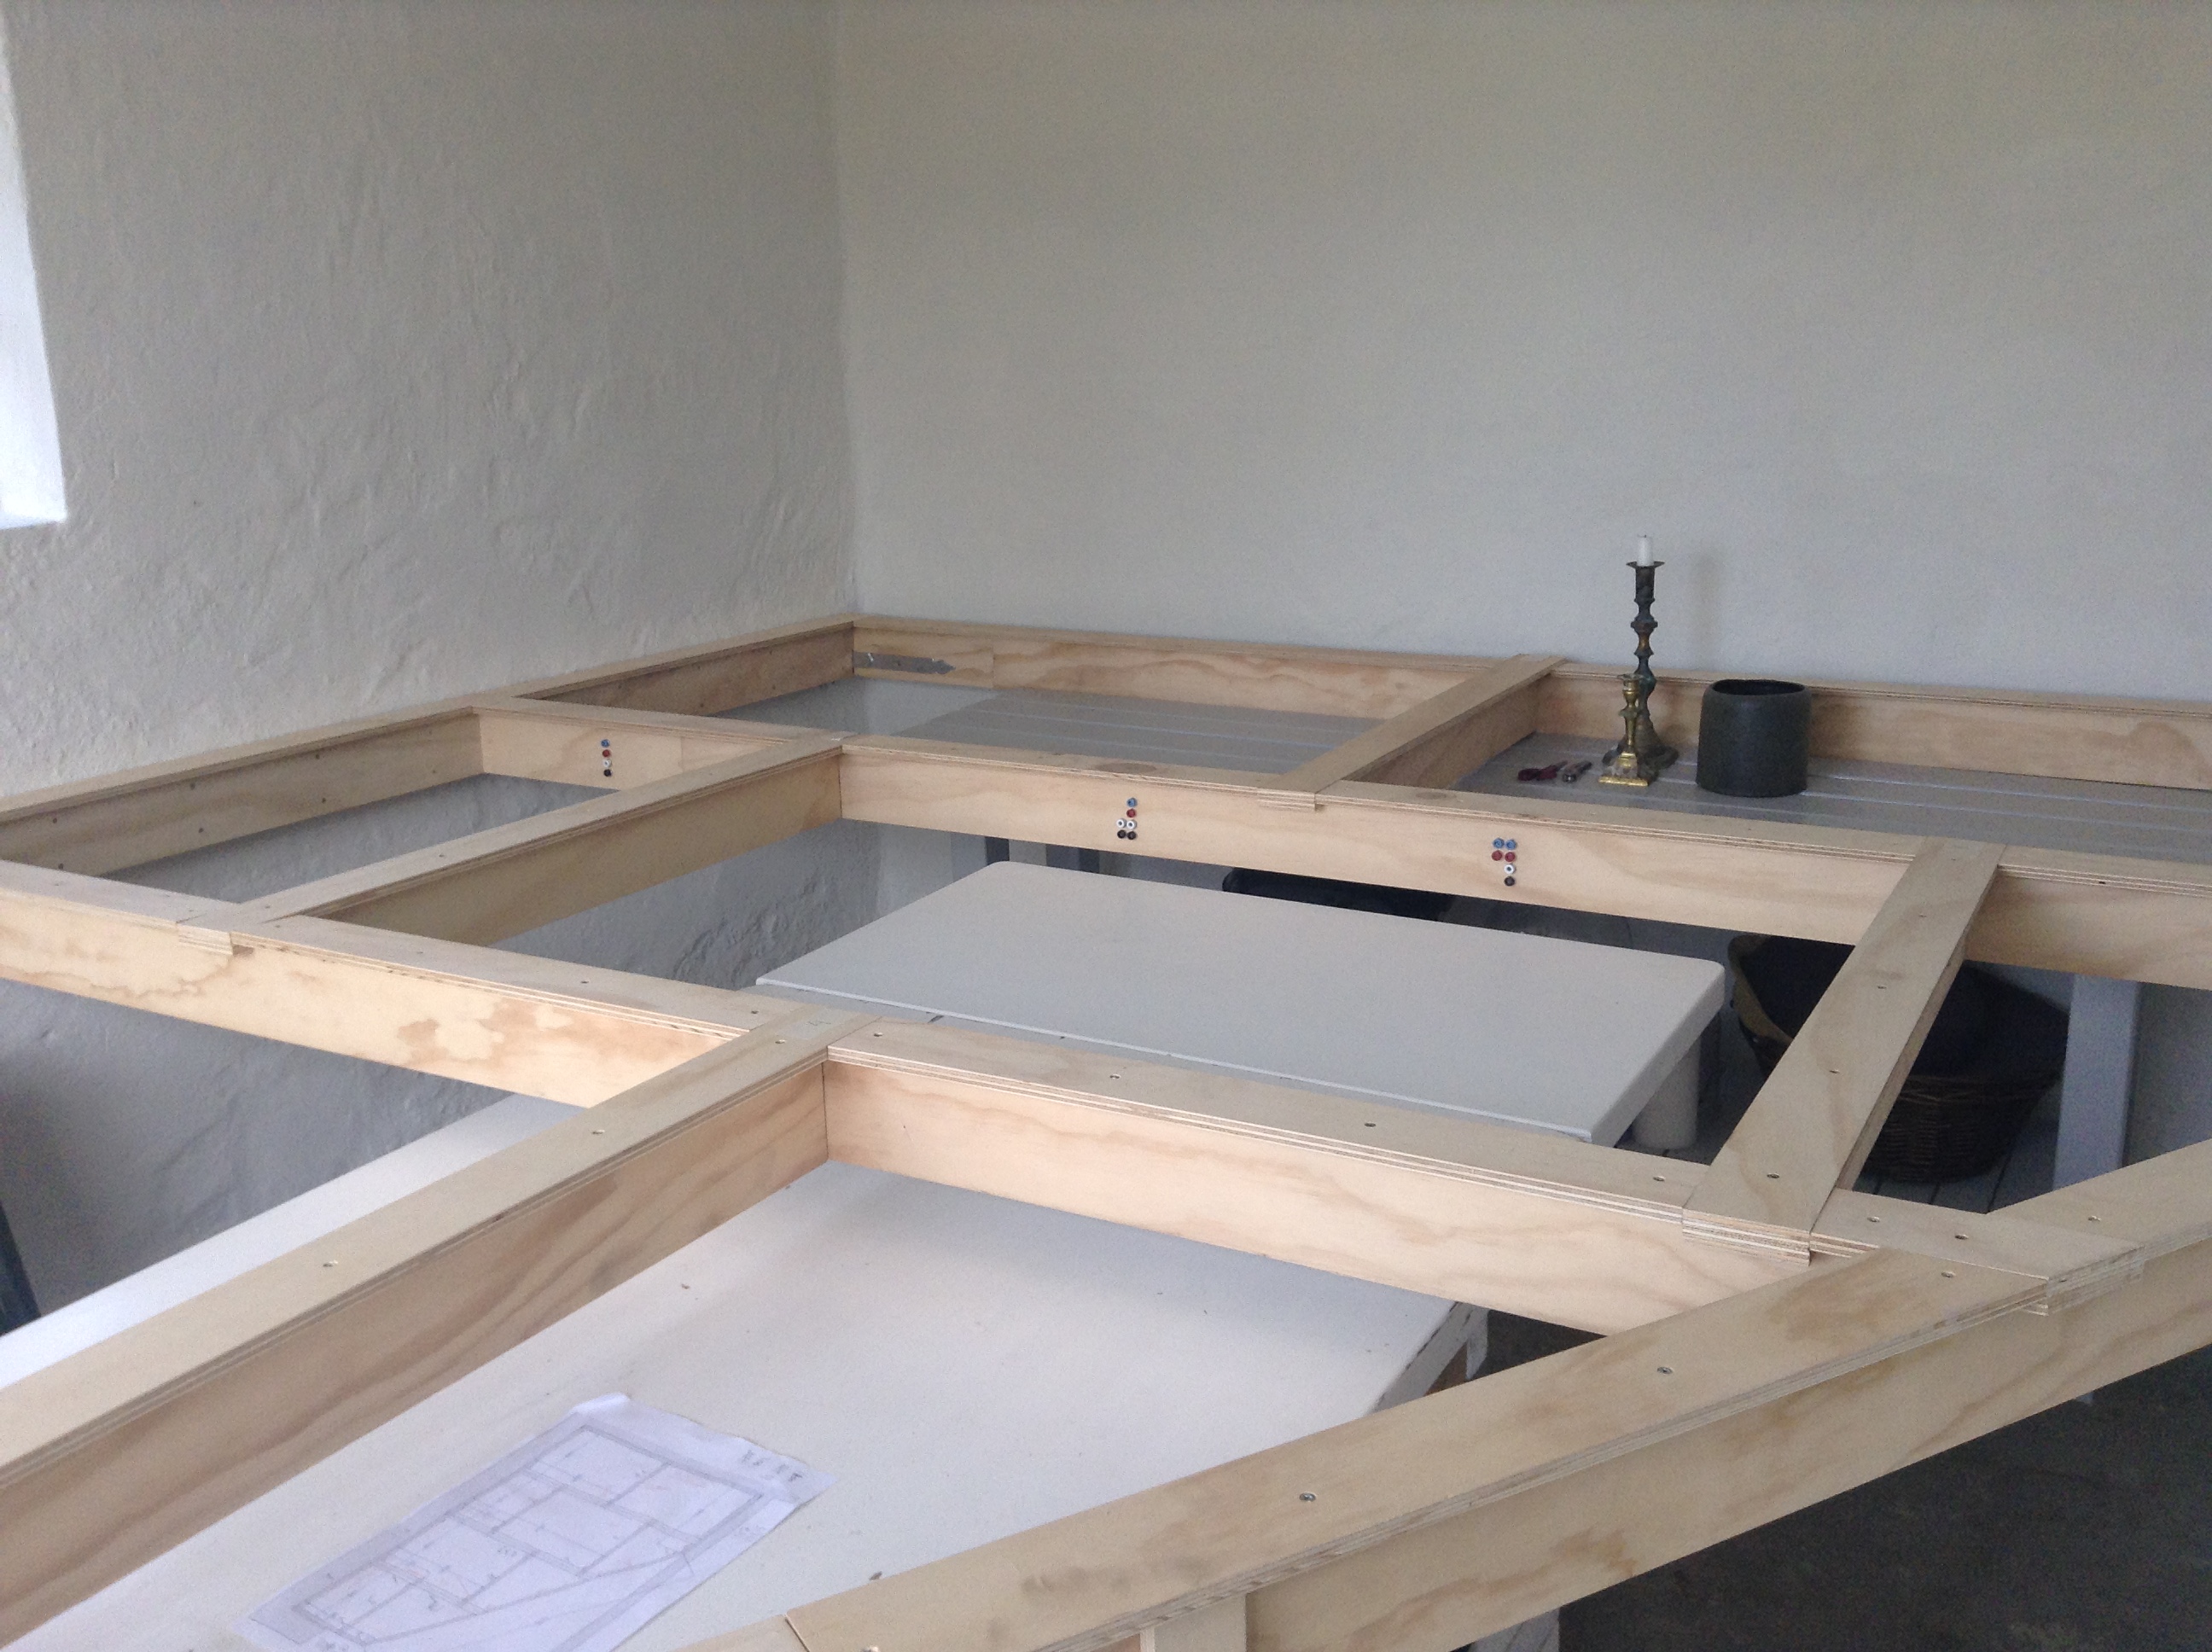
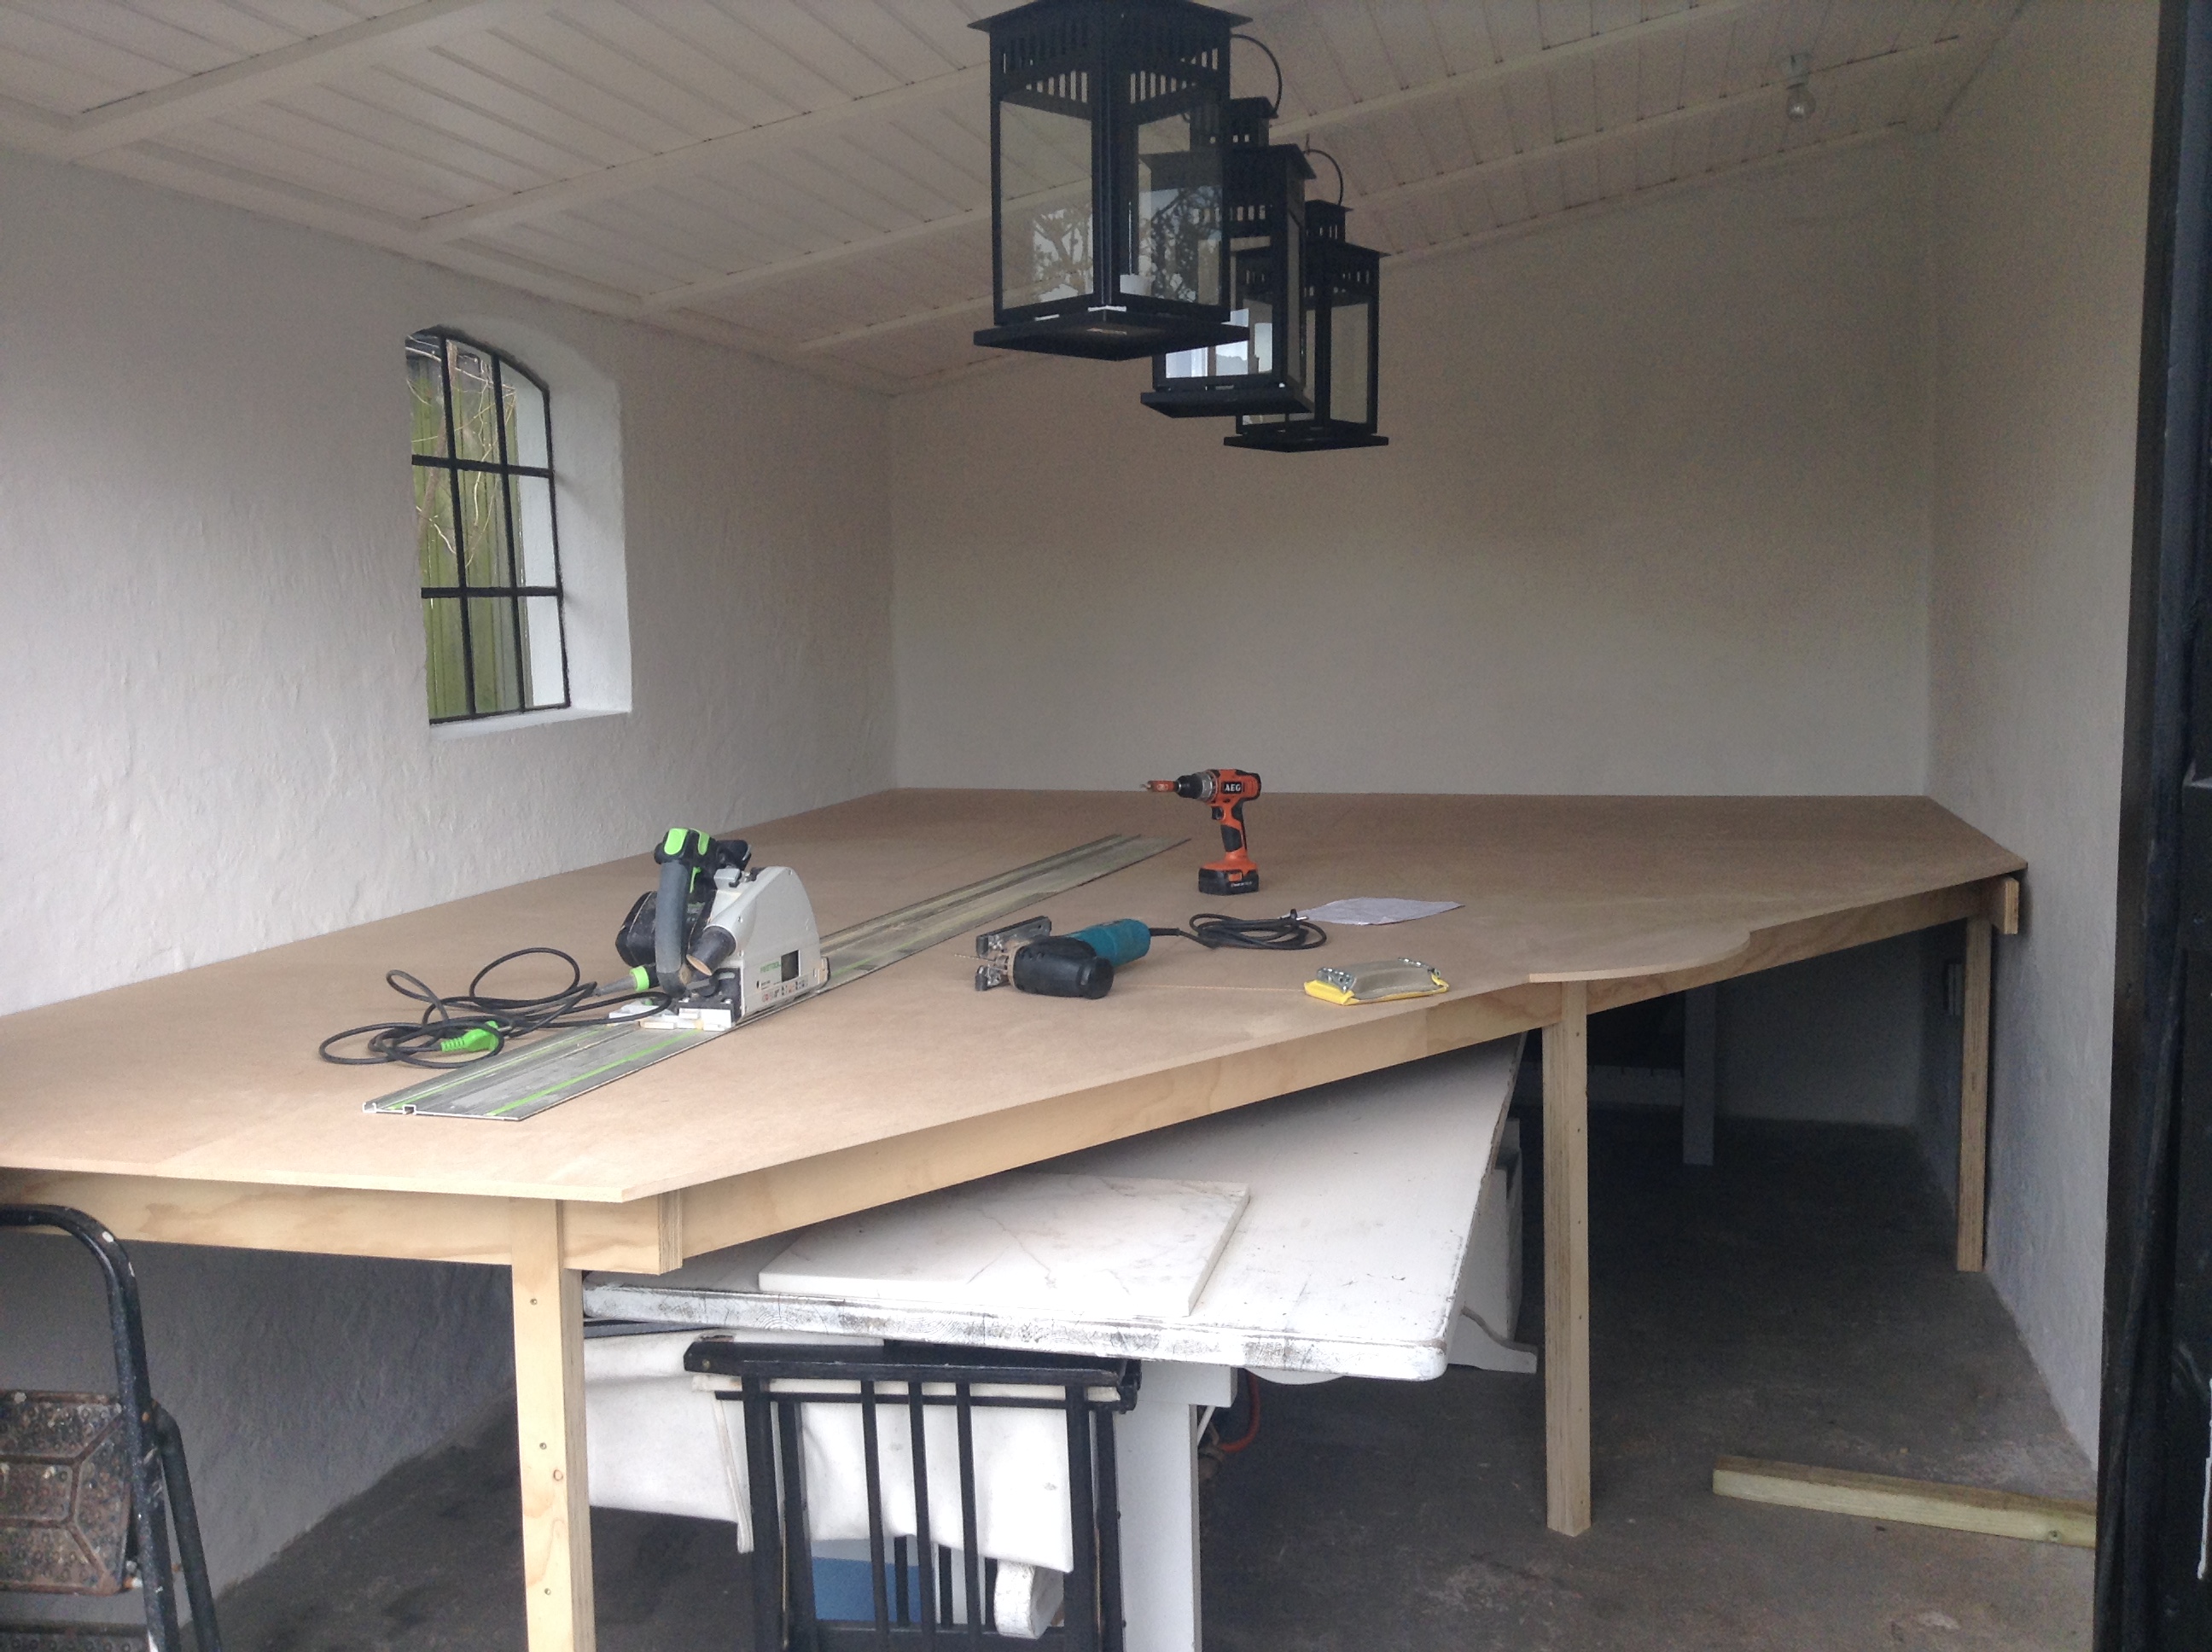
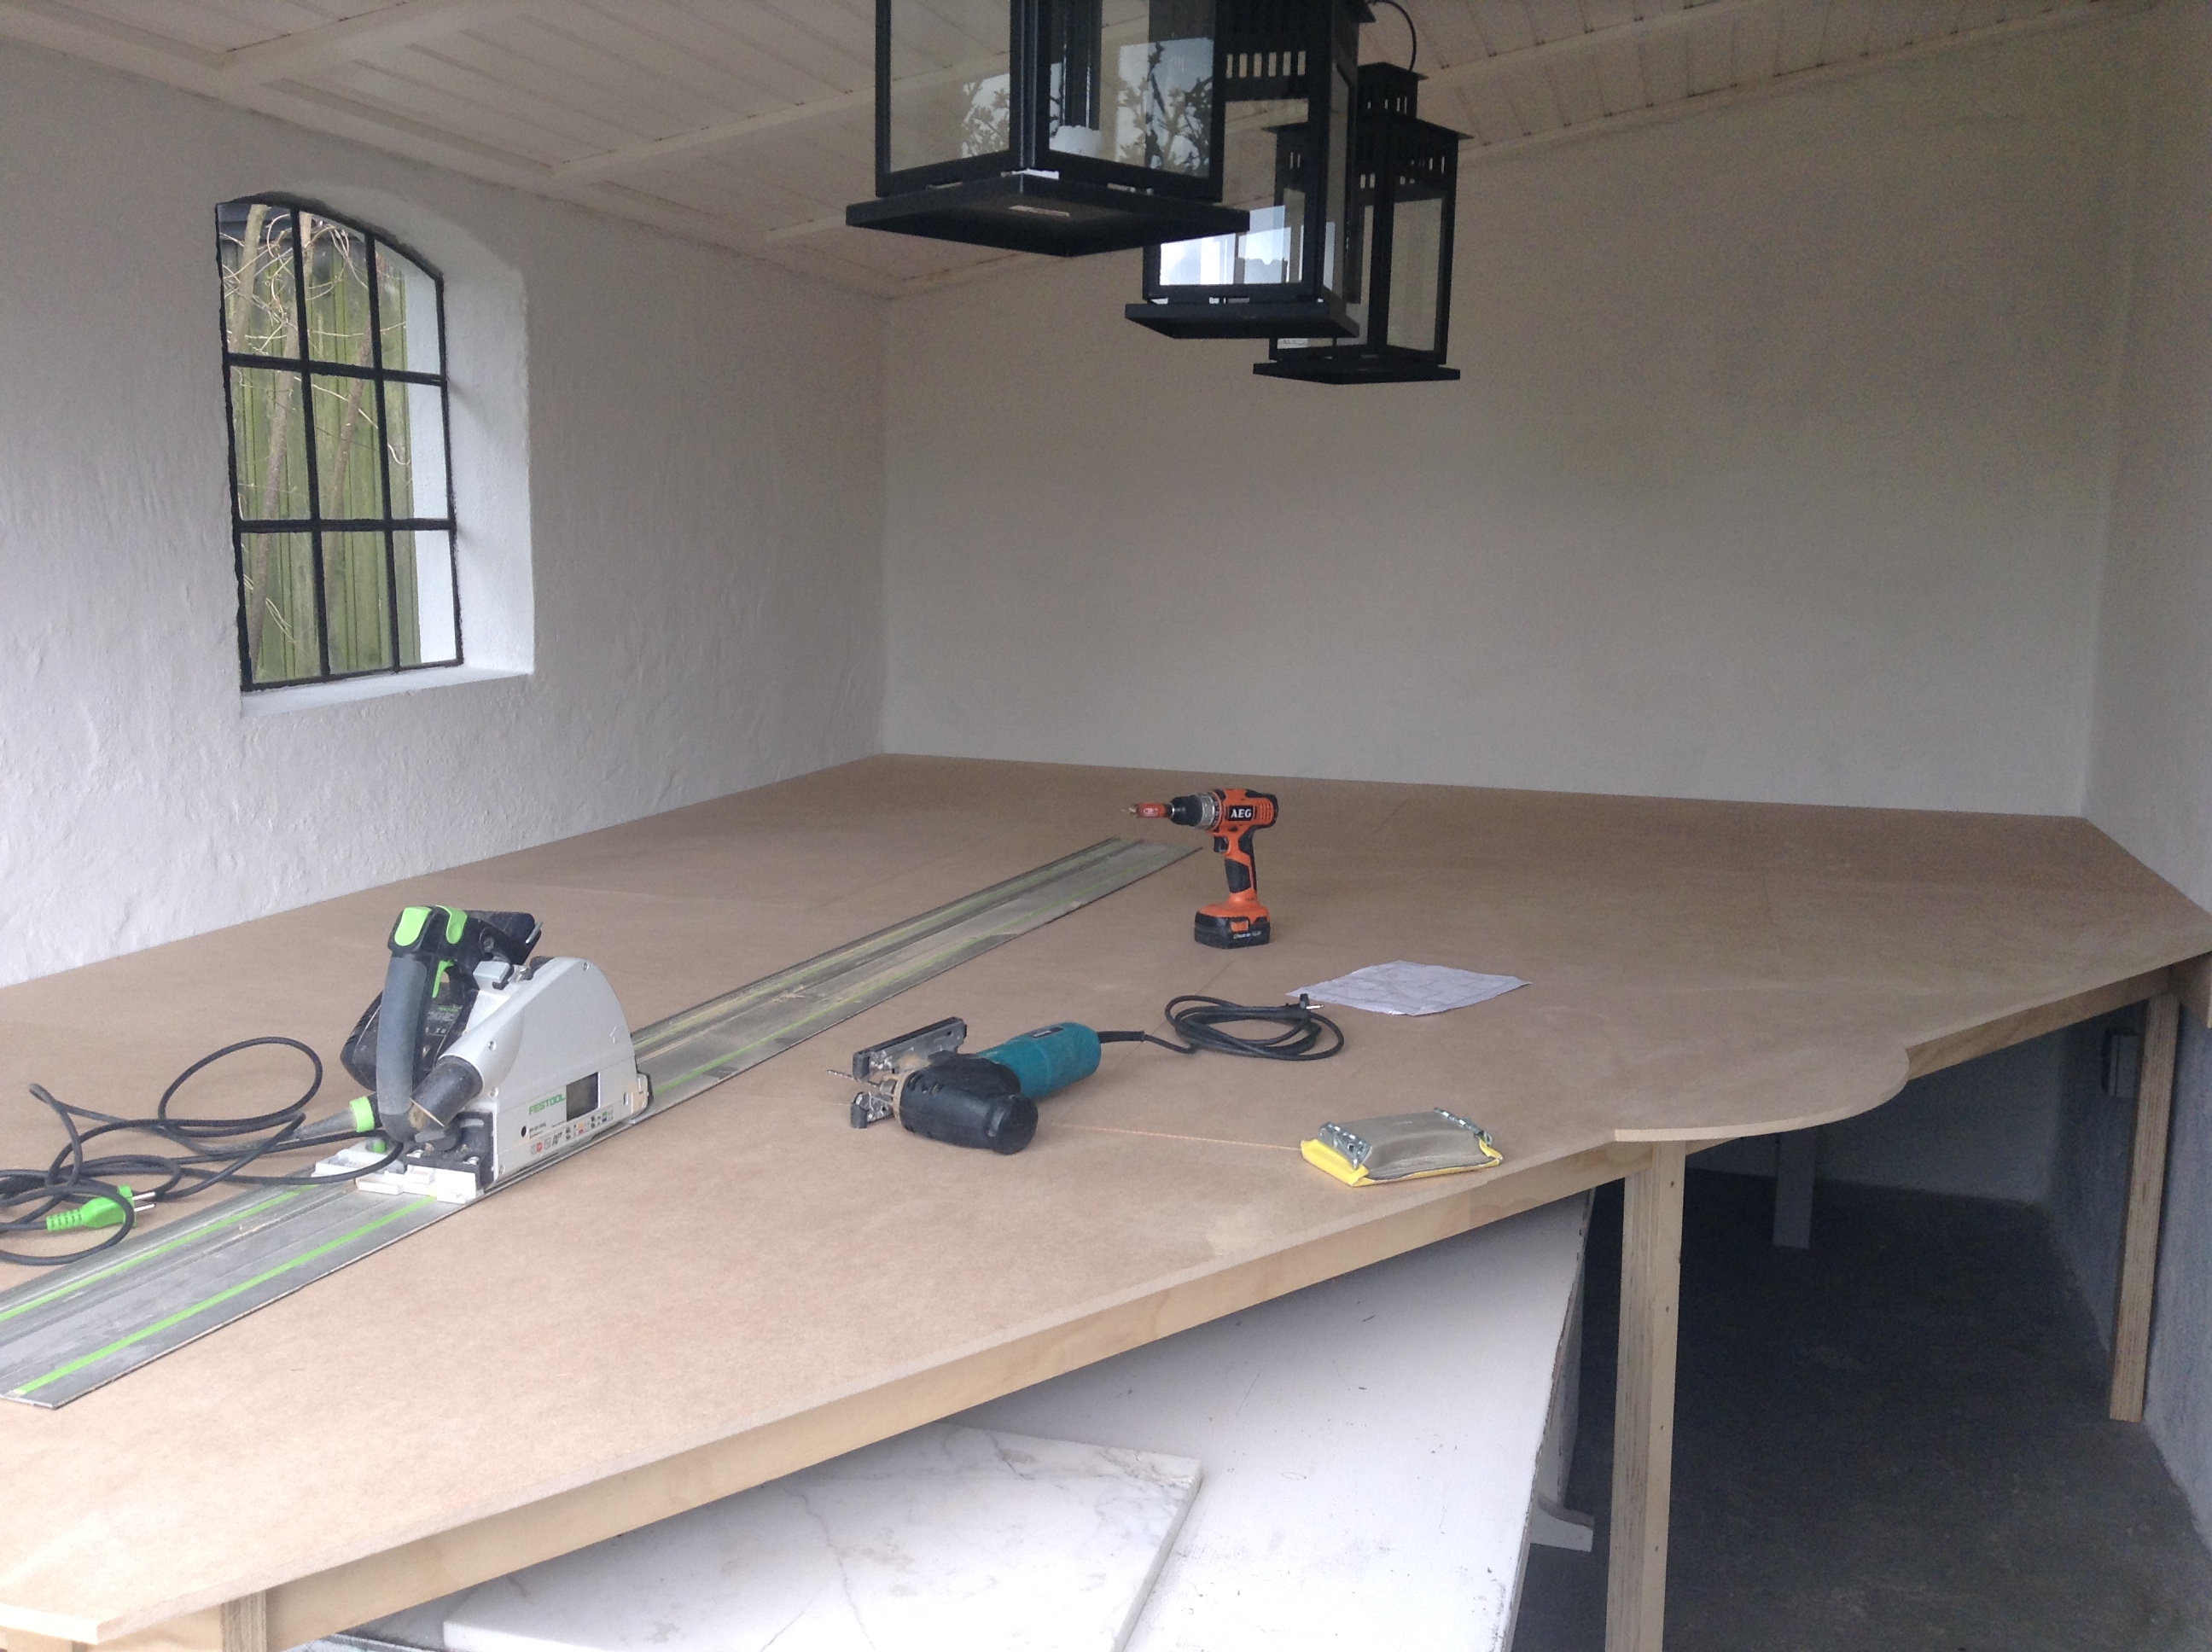
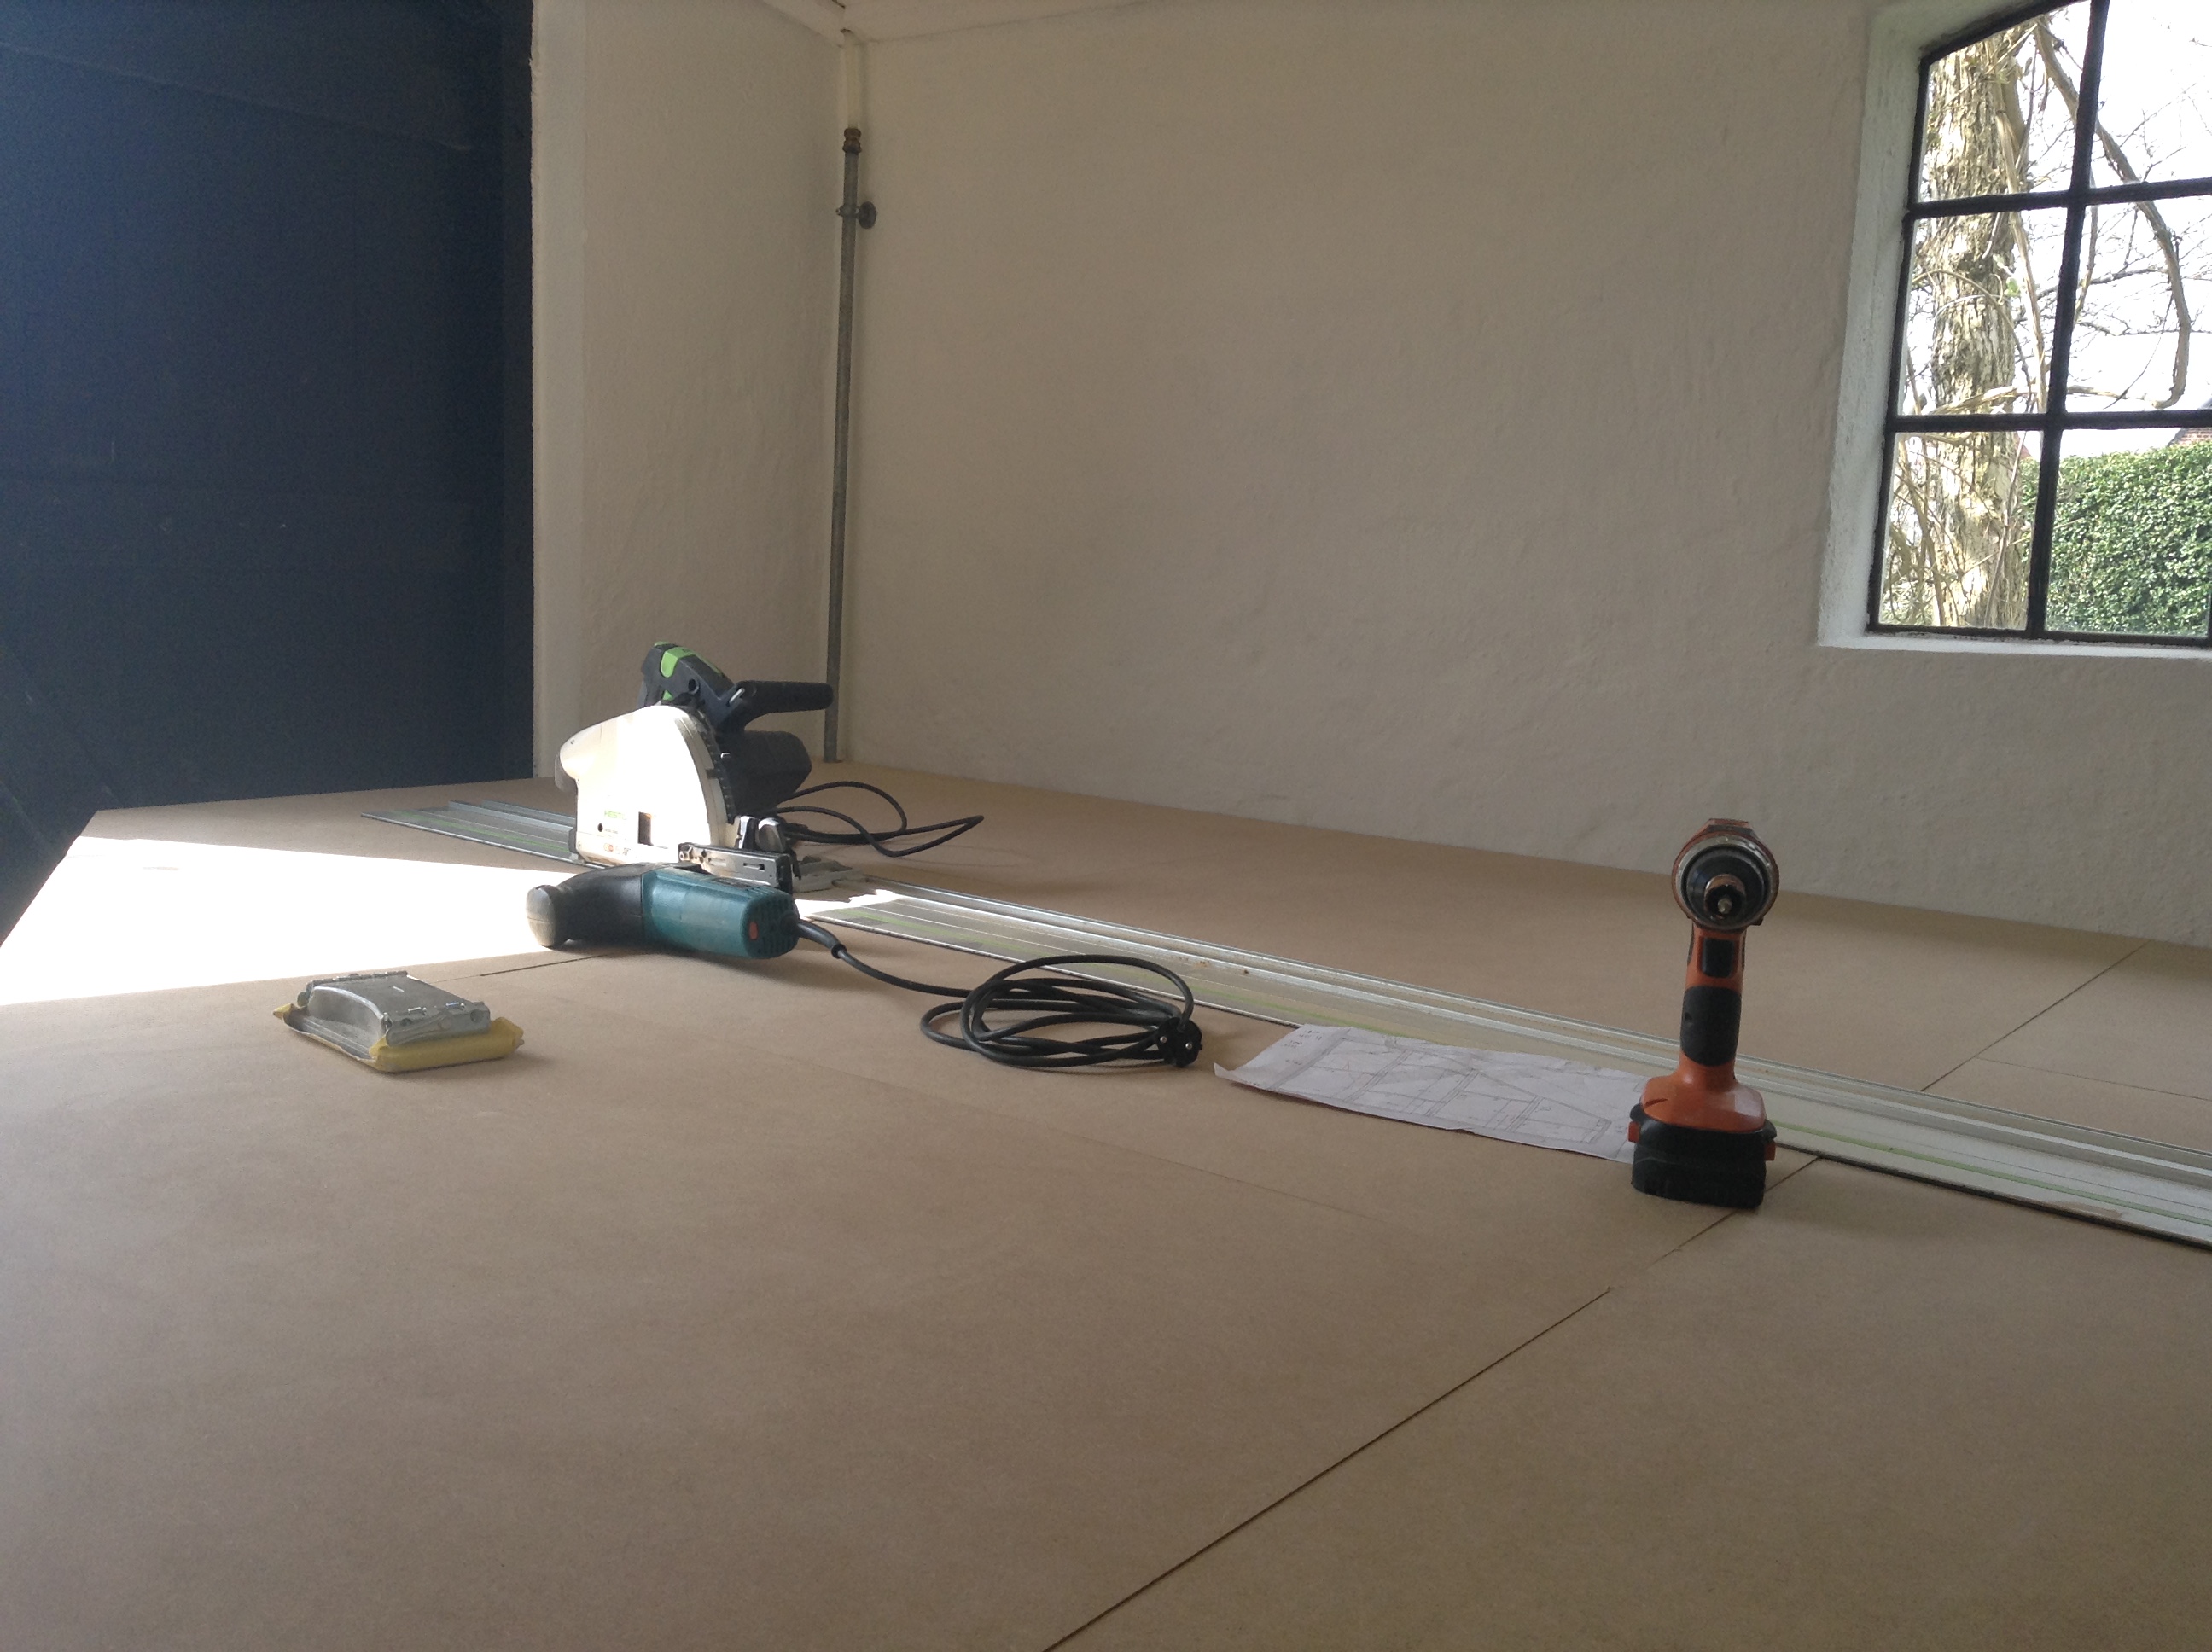
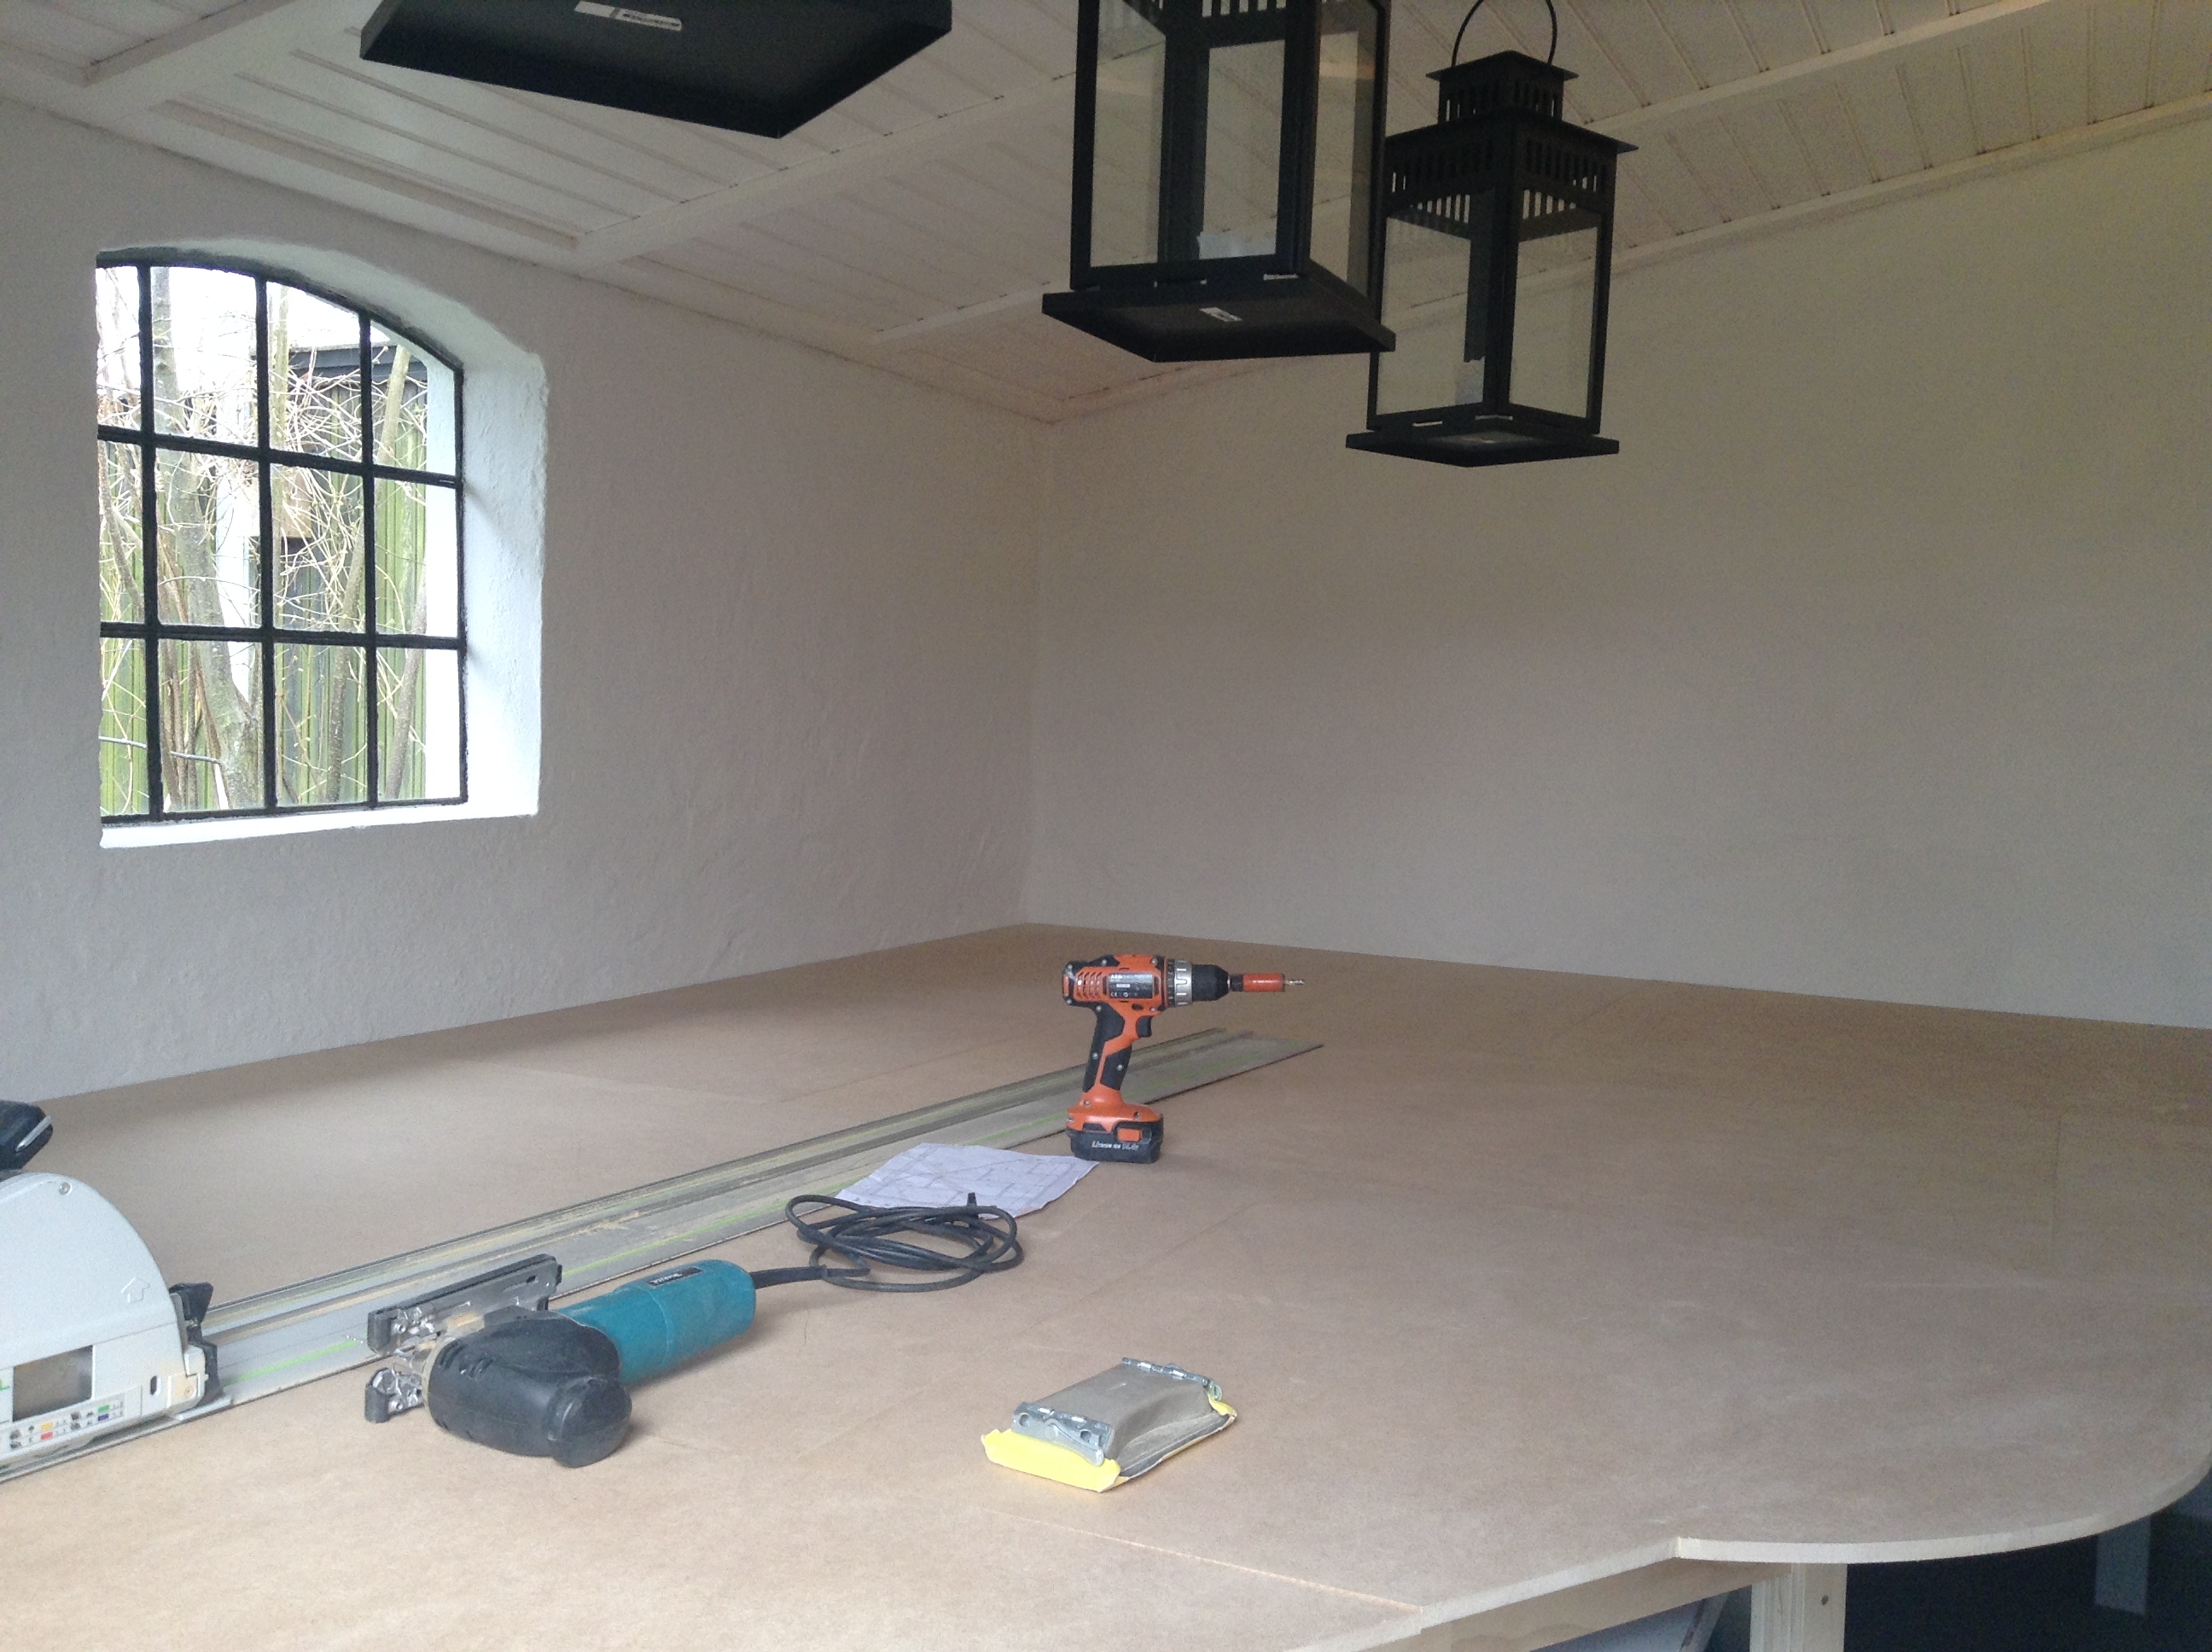
First layer of MDF
I have a layer of 12 mm MDF as a base for the track it selves. The track will be screwed to this layer of MDF with Hex socket screws through the track with Tee nuts mounted underneath the MDF.
Figure 2: First layer of MDF.
Now to Routing the track.