How to digitize a wooden track?
Well I have seen how others have solved this challenge, by incorporating purchased digital plastic parts in their track but I must say, I was not thrilled by the look of it. One further disadvantage of using plastic parts, is that the track design is locked to the parts available on the market. So I desided instead to buy some plastic, tear it apart and only use the electronics.
I bought some second hand digital sets and expansion kits. I chose Scalextric due to the fact, that it’s the most common brand in the Nordic countries and therefore easy to get hold of at a reasonable price.
First I made a 4 meter long oval plastic track, with a LX on each straight line and a 90º ‘out to in’ followed by a 90º ‘in to out’ LC‘s at each end. I must admit, it wasn’t as fun as I thought it would be! In my imagination, I saw myself driving around the track following the racing line but I woke up, I simply wasn’t fast enough to activate the LC button! Then I modified the wiring between the two Scalextric PCB‘s and thereby changed the default lane on the curved LC parts. Now it was possible to follow the racing line without pressing the LC button.
It helped, at least whilst I’m the only driver on the track. With 2 or 3 drivers on the track another problem occurred; we didn’t race much, we were collecting cars from all over the floor!
When a driver attack on the inner lane, the car on the racing line must change lane to avoid collisions but it’s almost impossible due to the speed of the cars.
Modifying the rails
I had to come up with some improvements – a way to avoid collisions! After some considerations I disconnected all the Scalextric lane change electronics and made 3 oval holes in the rail, mounted a copper wire which is shortly connected to the potential of the rail by the cars braid and thereby detect whether a car is passing or not (picture 1). Finally new electronics is made and connected to the 3 detections points and to the 2 Scalextric LC solenoids (Picture 2).
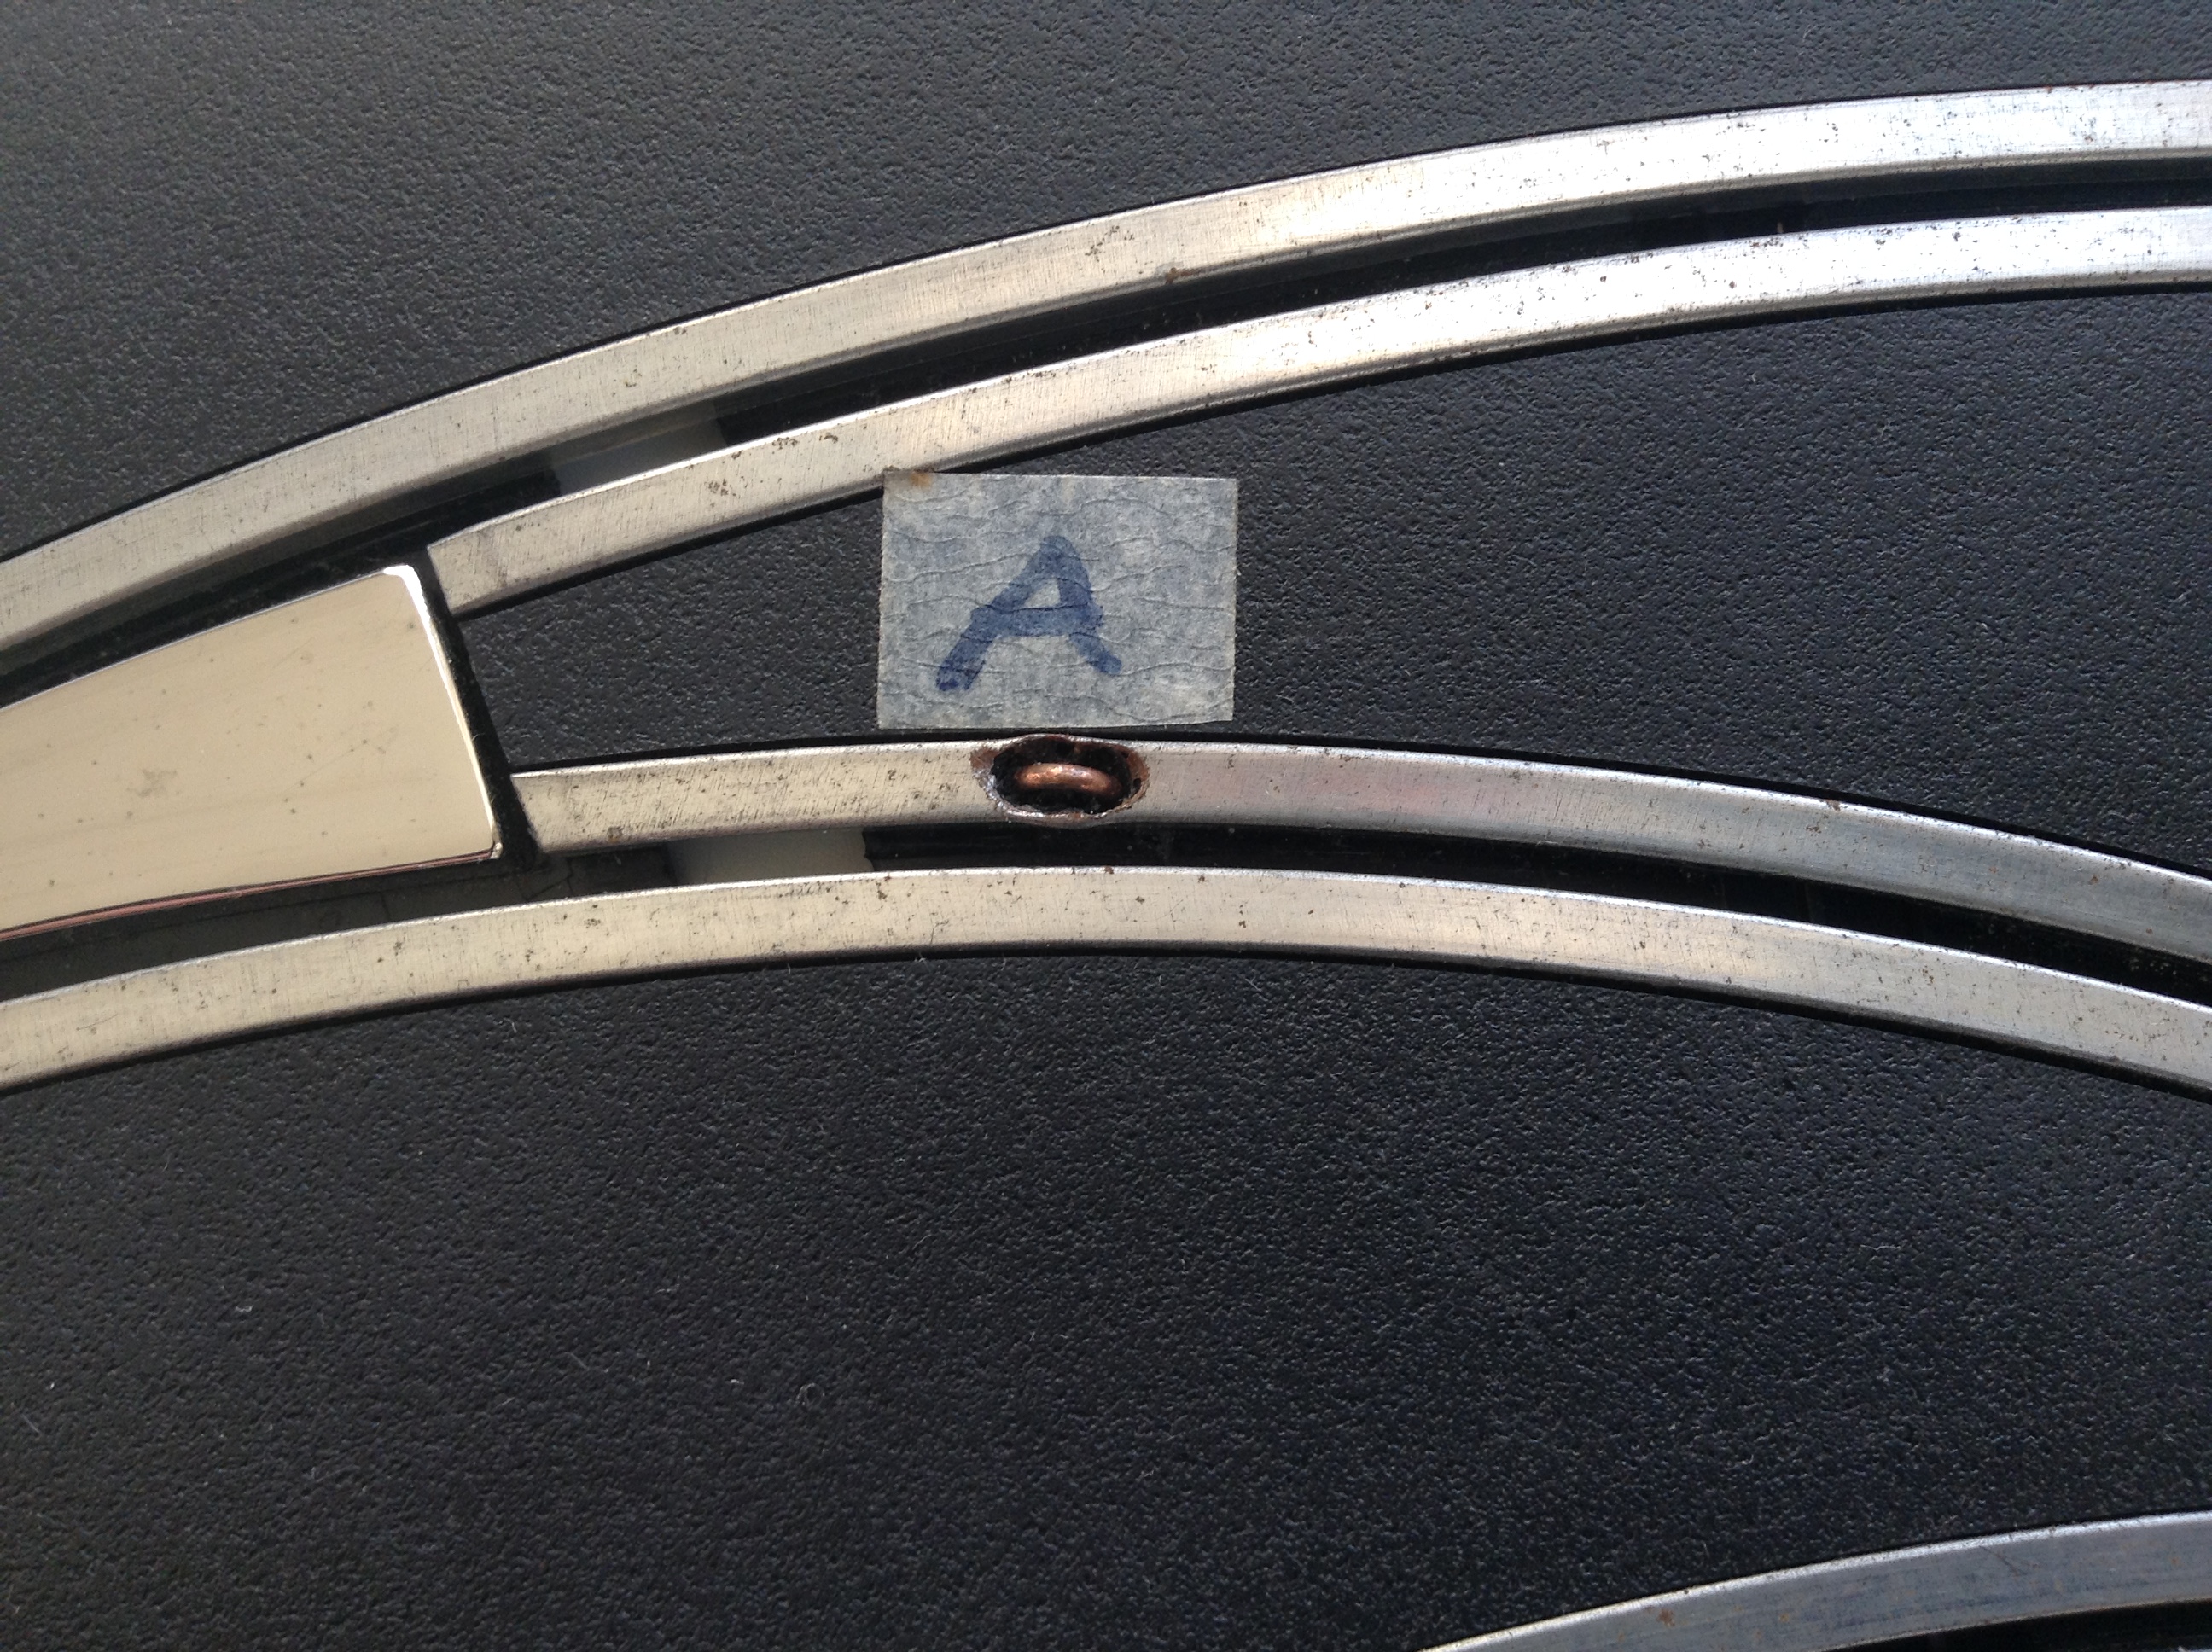
Picture 1: Simple detections point on a Scalextric rail.
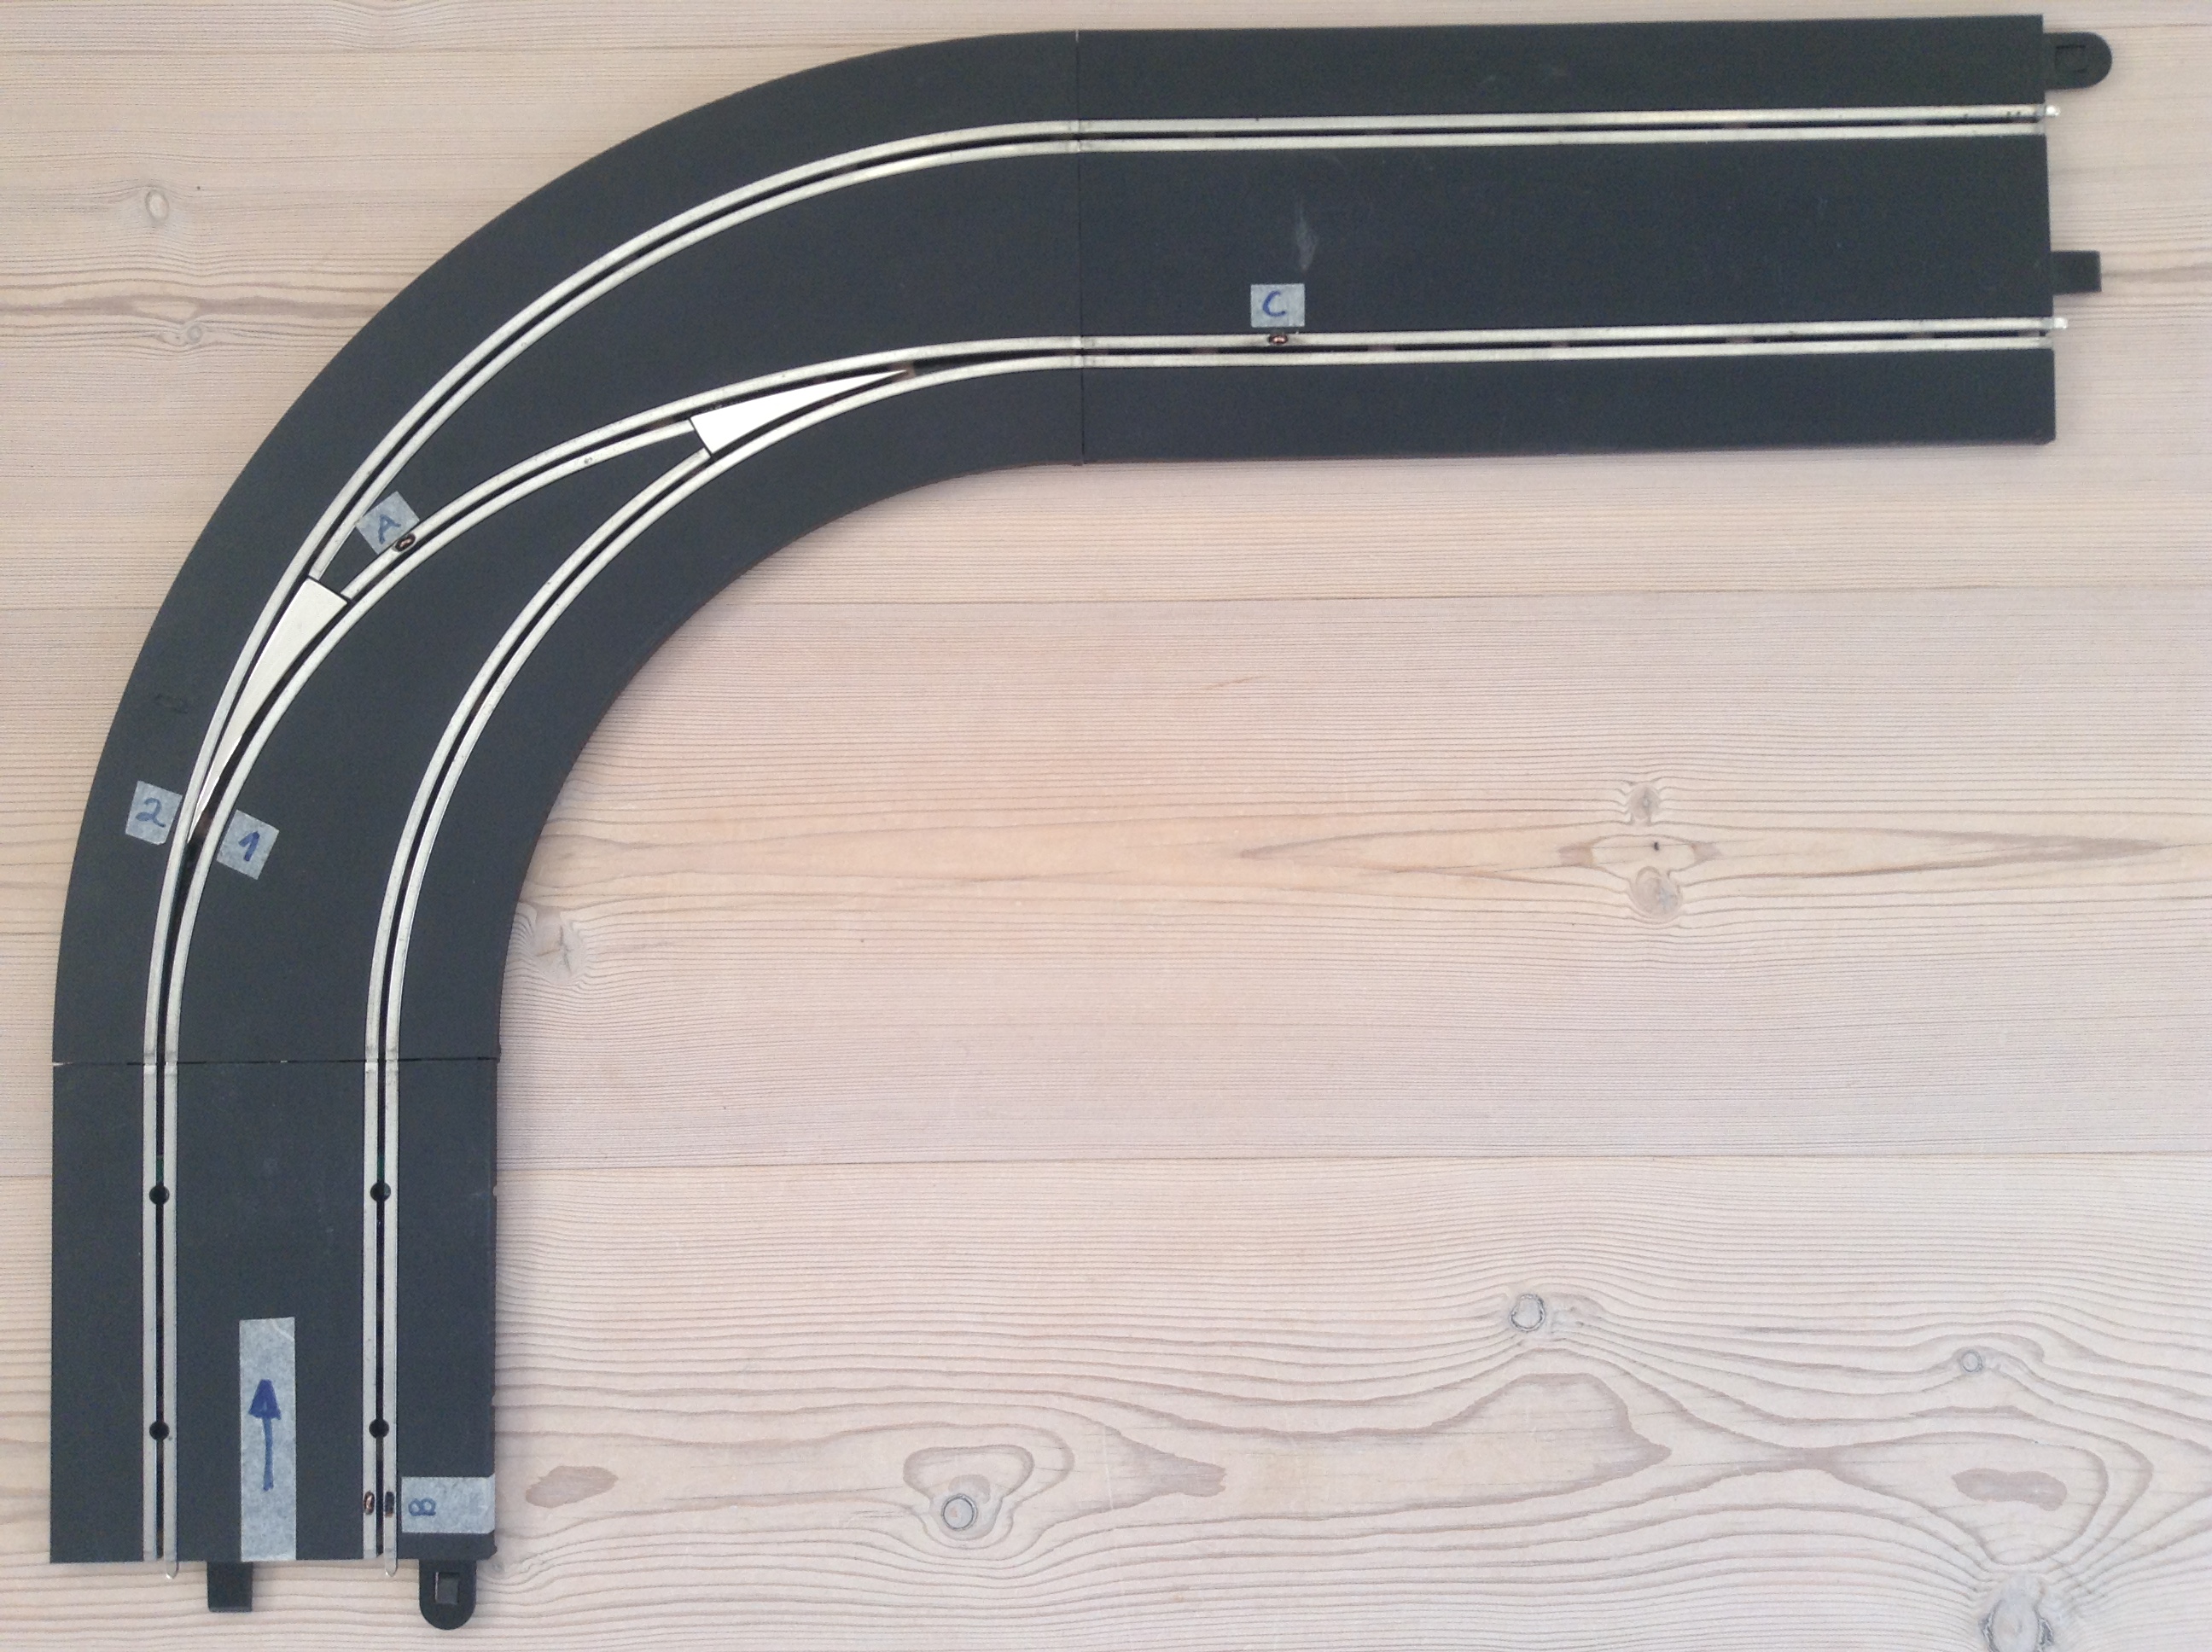
Picture 2: Point ‘A’ or ‘B’ will change the LC flipper from position ‘2’ to ‘1’ and point ‘C’ will change it back again.
- Point ‘A’ is activated by the car following the racing line, the car just behind it, will be directed to the outer lane, with the opportunity for overtaking.
- Point ‘B’ is activated by a car attacking on the inner lane. It will force a car in front of it on the racing line, to the outer lane and thereby avoid a collision.
- Point ‘C’ will reset the LC flipper back to the racing line.
After adjusting the electronics, the system worked as planned and we were able to have 3 cars on the track without any collisions – pure fun!
Why not incorporate that system?
Incorporation of these detections points, to control the position of the LC flipper on a wooden track, is a bit risky. I have to make two gaps in the braid for each detection point and because of that, I have to know the exact location. It’s nearly impossible to change it later, if a test run determine that an adjustment is necessary. One more disadvantage, underneath the track there will be a lot of braid pieces that have to be connected.
Back to the drawing board!
Instead of detections points I thought of detections zones, as the one used by Sillage Racing where they have made a system called “Best Lane Slot Track” or simply BLST.
I will not go into details how that system works, just briefly mention, that it detect whether there is power consumption from a braid zone or not. More or less the same but with a longer detection “point” and therefore also difficult to change later.
It’s a demand that it is possible to move the detections points after the braid is mounted, so I decided to use Slotted Optical Switches with a 3 mm gap routed from the back side of the track. (Picture 3)
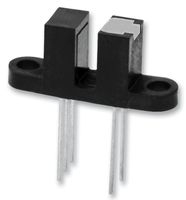
Picture 3: Slotted Optical Switches.
No plastic parts needed!
Purchased digital plastic parts now seems like a waste of money. I will not use the electronics, the LC flipper needs to be customized anyway, so what is left, is the two LC flipper solenoids.
At AliExpress I found 12VDC solenoids with spring return to US $1.68 / piece (picture 4) a bit cheaper than Scalextric plastic!
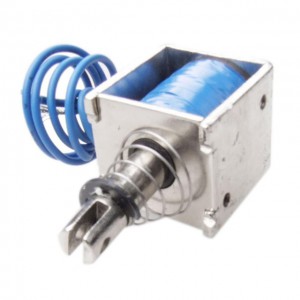
Picture 4: Solenoid – spring return.
The Scalextric digital LC parts, I have already purchased, will be used for driver selected lane change around the the track e.g. pit entry.
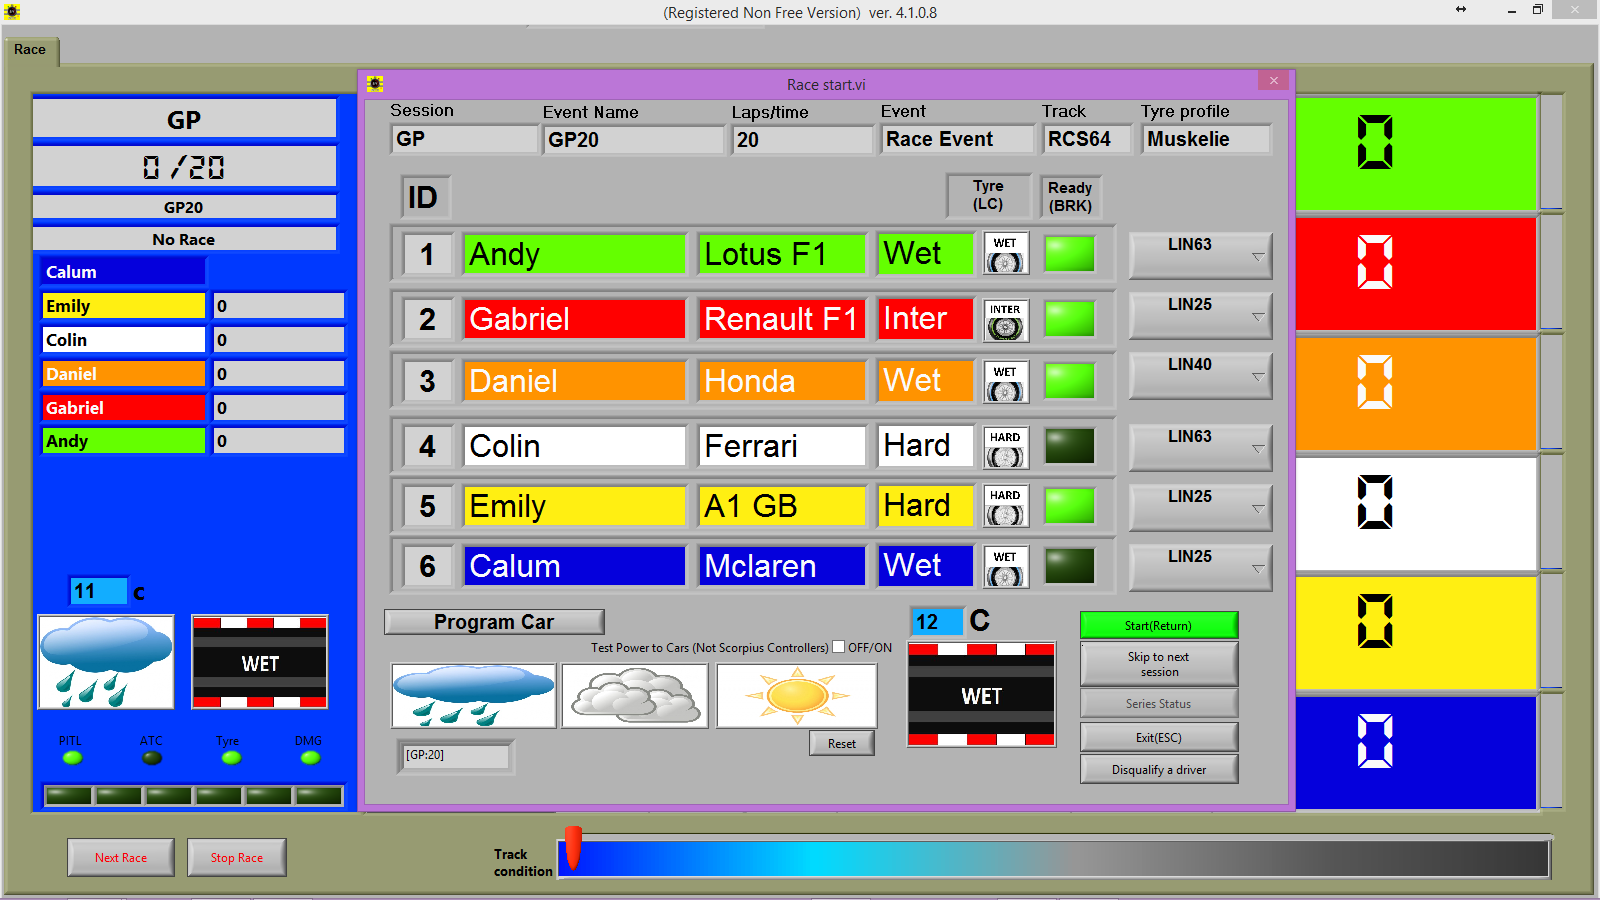
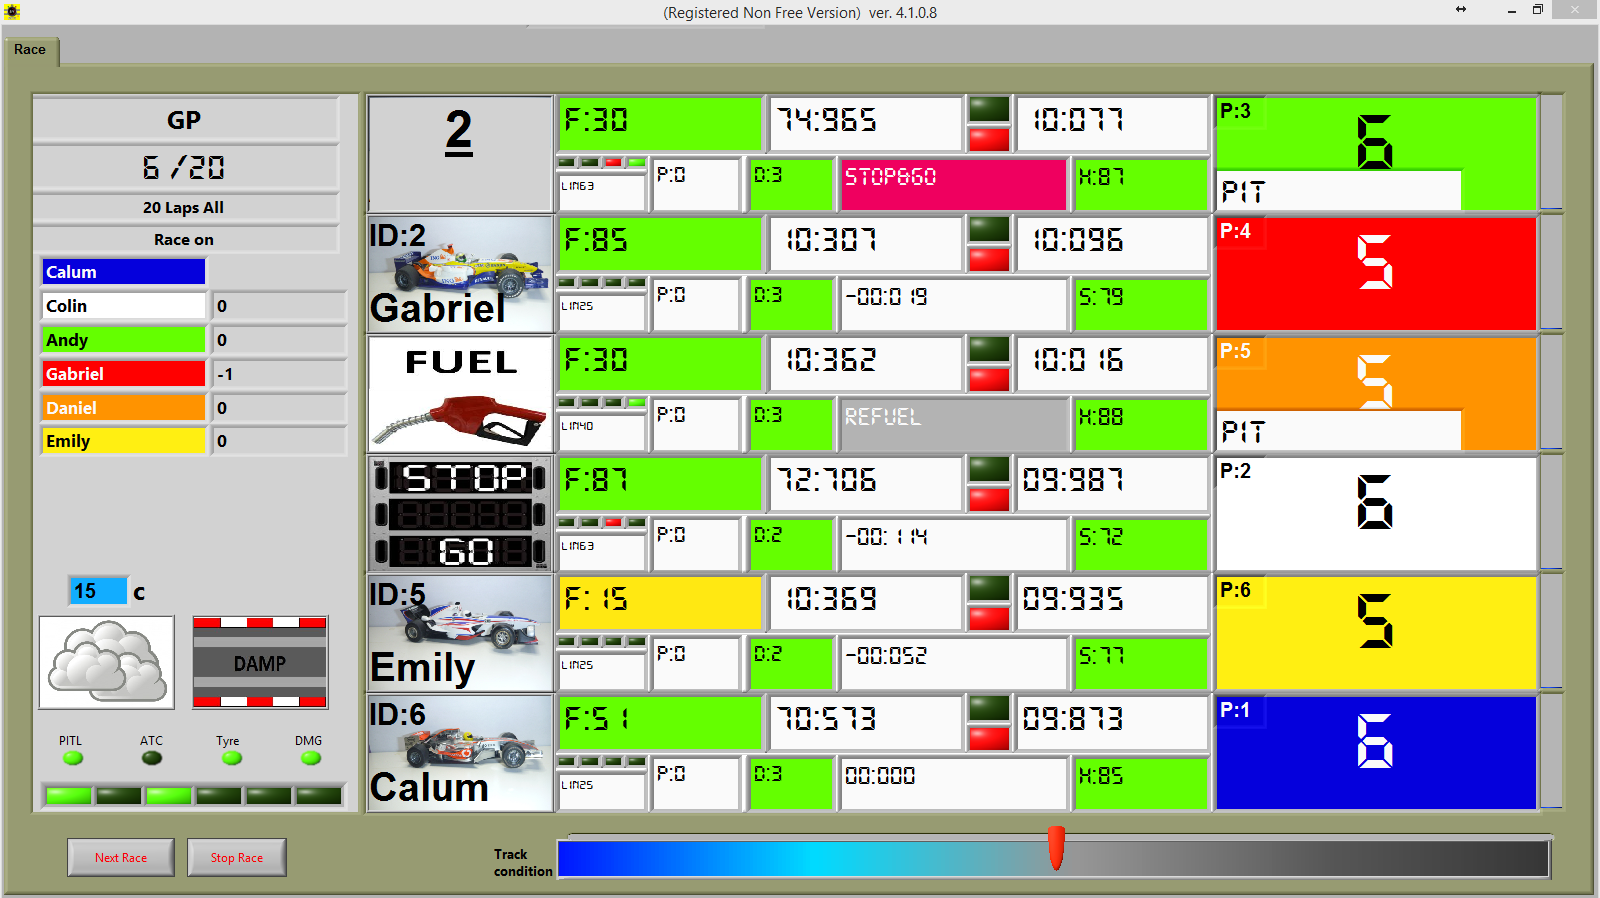
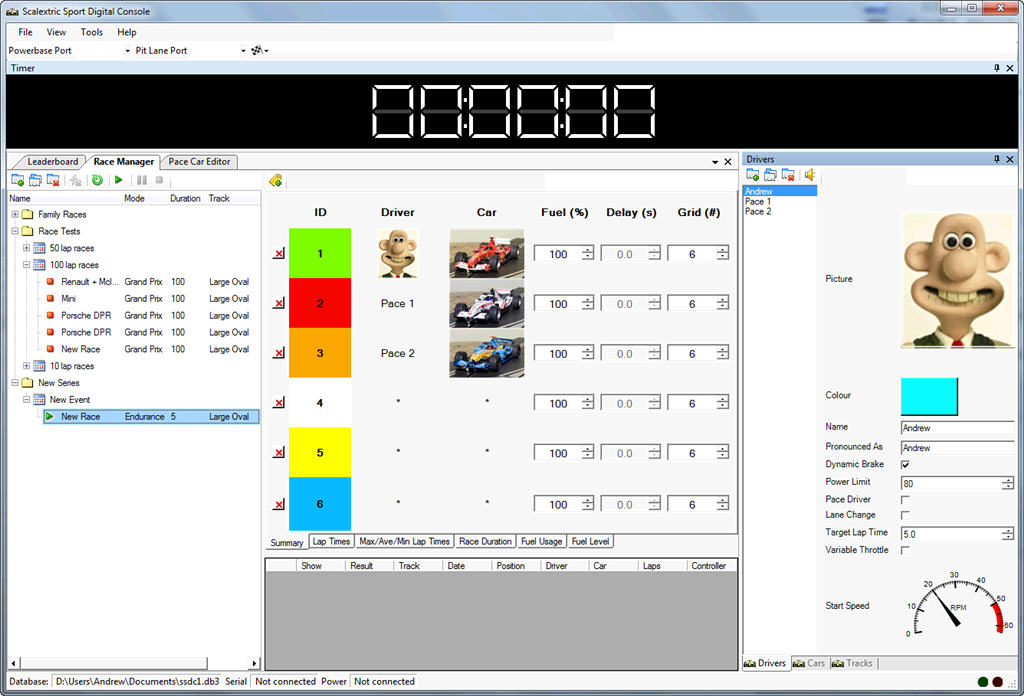
Race Management Software?
An other reason why I chose Scalextric is, that they have decided to share the protocol for their digital powerbase (C7042) for third party software developers. It brings to the next decision, what RMS should i choose?
I want a fully functional pit lane with automatic speed reduction by use of external sensors at the pit entry and exit. To my knowledge there are only two systems; RCS64 and SSDC. They are both hooked up to the Scalextric Powerbase and thereby supports all Scalextric digital parts.
RCS64 fulfills all my needs; low cost, lots of functionality and great support. It supports external pit lane sensors provided by SmartSensor, has a lot of nice features and it seems that the development of the RCS64 software is running very fast. The SmartSensors Arduino board also has an output for homemade start light display which is controlled from RCS64. I have been in contact with the guys behind both RCS64 and SmartSensor and they have answered all my stupid questions in a polite way.
SSDC is more or less the same as RCS64 but with less functionality. SSDC supports external pit lane sensors provided by SmartSensor but not the build-in start light feature. I have to connect the start lights to the computer’s parallel port or another I/O board.
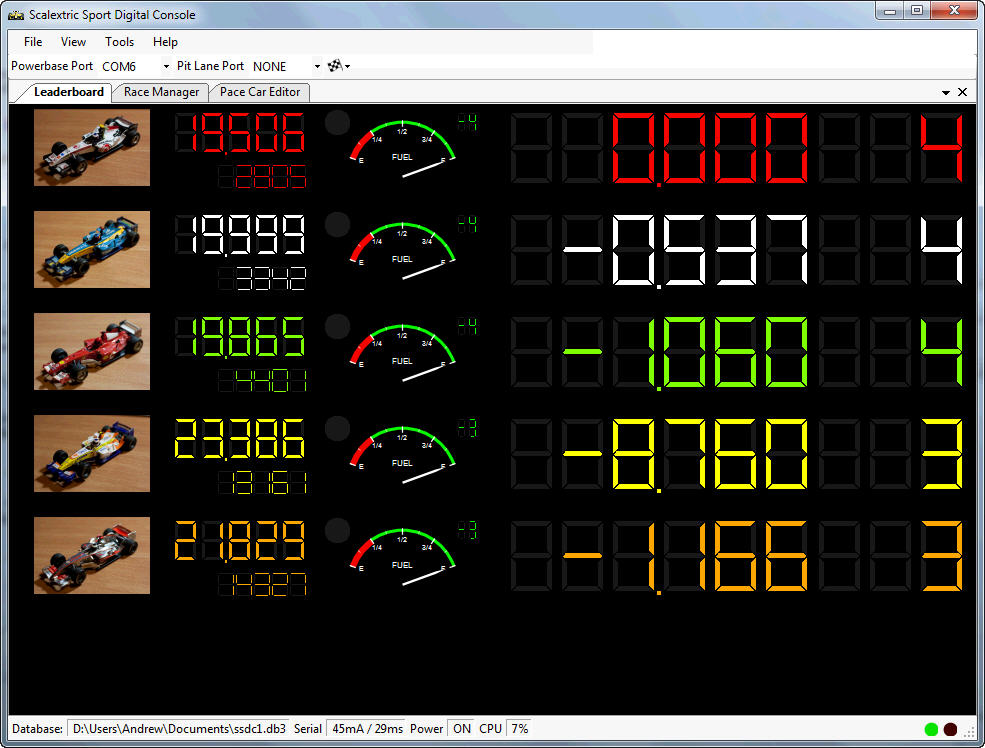
RCS64 would now be the obvious choice but I have chosen SSDC because, I simply find their graphical design more appealing. RCS64’s number of different colored info boxes is a bit too much for my eyes, SSDC’s lay-out and color theme is more old school.
The SSDC only cost £30 so I will give it a try and if it disappoint me, I just buy a €30 license for RCS64.
Conclusion!
- 2 lane wooden routed track with a kind of racing line.
- The possibility to drive around the circuits race line without pressing any buttons.
- A system to prevent collisions.
- Built-in Scalextric digital parts for pit entry etc.
- Energized in and out flippers.
- SSDC software.
- Speed reduction in the pitlane.
- Start lights.
- Track call.
That’s it and that’s that!